Ready to create your own branded paper cups or packaging?
Tell us your requirements — size, coating, printing, and destination — and our team will prepare a detailed quotation within 24 hours.

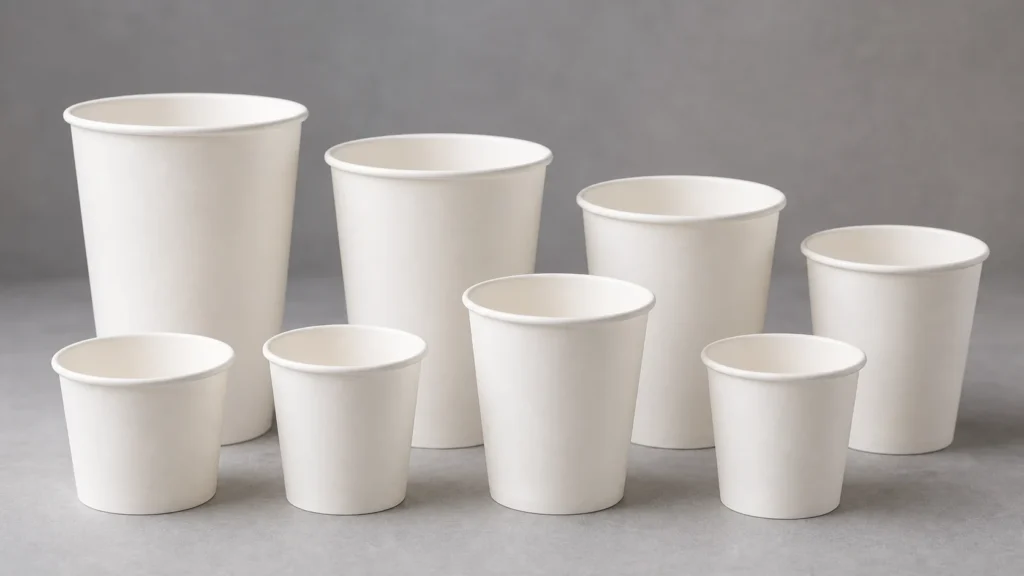
Ordering custom paper cups for the first time—or scaling an existing programme across dozens of locations—requires a clear-eyed view of every step between a brand concept and a finished, food-safe cup on a counter. The process touches graphic design, print engineering, food-contact regulations, logistics and quality management simultaneously. A missed detail in any one of those areas can mean reprints, delays, regulatory questions or cups that simply do not look the way your brand team expected.
This guide is written for commercial packaging buyers, coffee chain operators, foodservice procurement managers and anyone else who is responsible for getting a custom paper cup programme right. It covers the full project arc: writing the initial brief, obtaining and working with artwork templates, understanding the print methods most commonly applied to paper cups, managing colour proofing, planning against minimum order quantities, confirming that your cup and lid work together, running quality checks and knowing when a re-approval cycle is required. Where claims could mislead if generalised, the guide is deliberately conservative—confirm all specifics against the templates and documentation provided by your chosen supplier.
Specify the exact cup and lid system before artwork is finalized. Work from the supplier’s current template, agree the proof and sample approval path, record the approved SKU and artwork version, and re-approve when the supplier, construction, artwork or intended use changes.
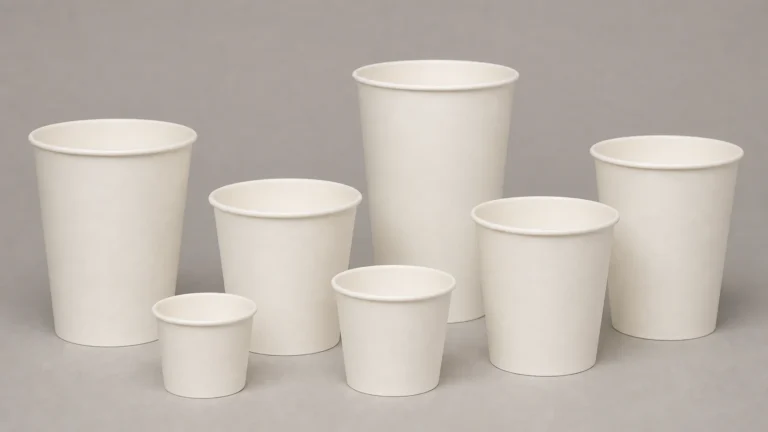
Every custom paper cup project begins with a brief, and the quality of that document directly predicts the smoothness of everything that follows. A complete brief should specify the cup size or sizes required (expressed in fluid ounces, millilitres or the supplier’s own SKU reference), the intended hot or cold application, whether single-wall or double-wall construction is needed, and the target volume per SKU per year. It should also state whether lids will be supplied from the same source, which significantly simplifies fit-testing.
Beyond dimensions and volumes, the brief must address brand requirements: the number of distinct designs, whether the artwork is seasonal or evergreen, language variants for different markets, and any regulatory text (allergen statements, recycling symbols, country-of-origin declarations) that must appear on the finished cup. Document the approval chain early—who can sign off on colour proofs, who has final authority on regulatory copy, and what the internal lead time is from proof approval to a purchase order. Suppliers can only work within the calendar time they are given; if your internal approval cycle takes three weeks, that time must be built into the project schedule from day one.
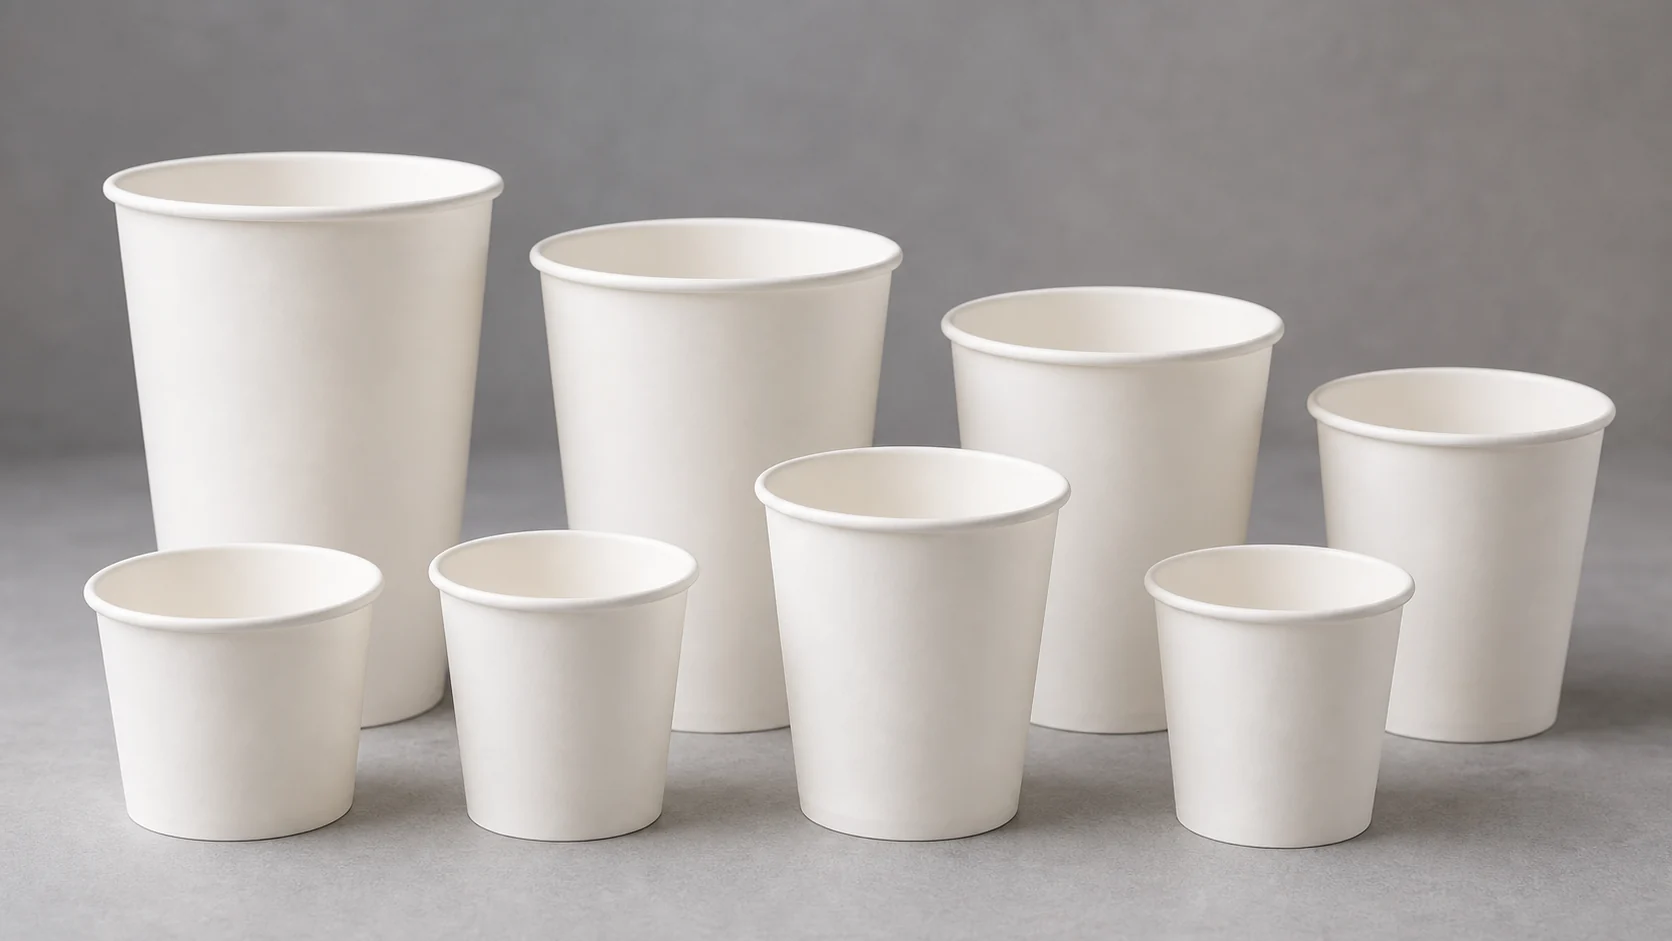
Reputable cup suppliers provide die-line templates in a vector format—typically Adobe Illustrator (.ai) or Encapsulated PostScript (.eps)—that map the flat blank before it is formed into a cup. These templates are not interchangeable between cup sizes or between suppliers, because the geometry of the fan-shaped blank changes with every diameter and height combination. Always request and use the template that corresponds to your confirmed SKU. Applying artwork built for one cup size to a different blank is one of the most common sources of misregistered or distorted graphics on finished cups.
Key template zones to understand:
Safe zone and bleed. Most templates define a safe zone inside which critical text and logos should remain, and a bleed area outside the trim line into which background colours and non-critical elements should extend. Following these guidelines prevents white edges appearing after trimming and ensures that important content is never accidentally cut.
Seam area. The vertical seam where the blank is joined is a restricted area on most templates. Artwork that crosses the seam will be interrupted by the overlap, and any fine text or critical alignment marks placed there will not reproduce cleanly.
Top and bottom curl areas. The rim curl at the top and the tuck at the base are areas where the material folds and overlaps. Most templates mark these clearly as non-print zones. Artwork placed in these areas is distorted during cup forming.
Colour mode. Artwork should be supplied in CMYK for offset or flexographic printing. If spot (Pantone) colours are specified, include the Pantone reference numbers in the file and confirm with your supplier whether spot printing is available for your chosen process and quantity. Converting brand Pantone colours to CMYK process at the proof stage often produces a visible shift; identifying this early allows time to adjust.
Fonts. All fonts must be outlined or embedded before the file is supplied. Missing font substitution is a common artwork rejection reason and causes delays.
Resolution. Embedded raster elements (photographs, textures) should be supplied at a minimum of 300 dpi at print size. Lower-resolution images may appear acceptable on screen but will show pixelation in print.
The print method applied to a custom paper cup programme affects achievable colour accuracy, minimum economical order quantity, per-unit cost and lead time. The three methods most commonly encountered in commercial cup production are flexographic printing, offset lithographic printing (applied to the raw paperboard before cup forming), and digital printing. Each has characteristics that make it more or less suitable depending on programme size, design complexity and budget.
Flexographic printing applies water-based or UV inks through flexible polymer plates onto the paper cup blank or the pre-formed cup. It is well established in high-volume cup production and is capable of good colour results when plates are properly prepared and press settings are maintained. Colour is reproduced spot by spot or in process combinations; the number of print stations available on a given press limits the number of simultaneous colours. Flexographic printing generally becomes cost-efficient at higher volumes because the plate-making cost is spread across a larger quantity.
Offset lithographic printing on pre-printed board allows finer detail and a wider achievable colour gamut compared with direct flexographic printing, because the printing occurs on flat board stock before forming. This method is widely used for premium single-serve cups where photographic imagery or fine typography is required. It shares the same economic structure as flexography in that tooling costs are front-loaded.
Digital printing eliminates the need for physical printing plates and is therefore more economical at lower quantities. It is increasingly available for cup programmes, though the range of cup formats and substrates it can accommodate may be narrower than traditional methods. Digital print quality has improved substantially, but buyers should request production samples on the specific substrate they intend to use, because results vary between presses and paper types.
For any print method, the supplier’s technical specification sheet is the definitive source of truth for maximum colour count, minimum text size, achievable halftone resolution, and the impact of metallic or special-effect inks. Request this documentation before finalising artwork.
Colour proofing sits at the intersection of design intent and manufacturing reality. The objective is to confirm, before a full production run is committed, that the printed output matches the brand standard within an agreed tolerance.
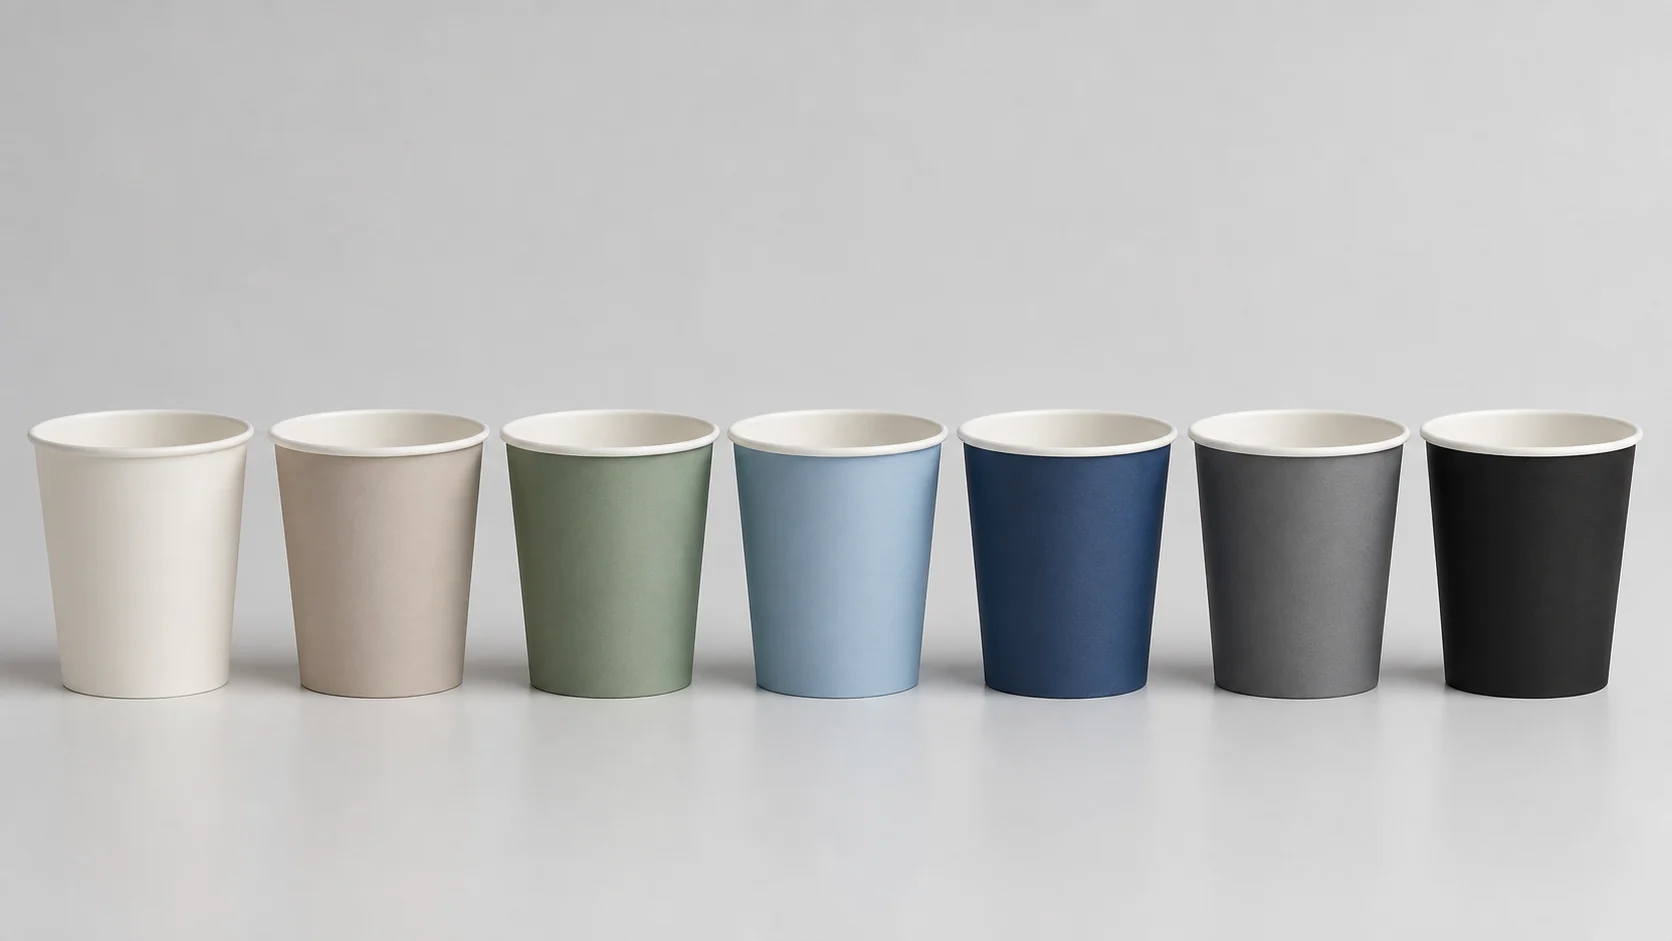
Most suppliers offer a digital soft proof as a first step: a calibrated on-screen or printed PDF that reflects how the file will be interpreted by the pre-press system. Soft proofs are useful for catching layout errors, confirming text content and identifying obvious colour issues, but they are not a substitute for a physical proof because screen display is not a reliable guide to printed colour.
A physical proof—whether a contract proof printed on calibrated output or an actual pre-production cup sample—is the most reliable basis for final colour approval. When reviewing a physical proof:
Approval of the physical proof should be documented in writing, including the date, the name of the approver, and any conditions or deviations noted. This record becomes part of the quality file for the programme and is referenced in subsequent quality checks and re-approval cycles.
Minimum order quantities (MOQs) for custom paper cups vary considerably between suppliers, print methods and cup formats. High-volume offset pre-printed programmes typically carry larger MOQs because the economics of the process require a production run large enough to amortise plate and make-ready costs. Digital printing may permit lower MOQs but at a higher per-unit cost. It is essential to obtain confirmed MOQ information in writing for each specific SKU and print method before committing to artwork development.
Supply planning for a custom cup programme should account for the following:
Production lead time. The time from purchase order placement to goods available for shipment includes pre-press, plate-making (where applicable), production scheduling, printing, forming, quality inspection and packing. Lead times vary; confirm them in writing and build contingency into your planning calendar, particularly around factory shutdowns and peak production periods.
Transit and customs time. If product is manufactured overseas, add sea freight transit time, customs clearance and domestic delivery to the total lead time. Procurement teams sourcing from offshore manufacturers often find that the combination of production and transit time is twelve weeks or longer; planning cycles need to reflect this.
Minimum stock cover. For a high-usage format such as a 12 oz or 16 oz hot cup in a busy coffee environment, calculate your daily or weekly usage rate and set a reorder point that allows a full production and delivery cycle before your buffer stock is exhausted. Seasonal or promotional designs with a defined end date need a separate volume calculation that avoids both running out early and holding large quantities of obsolete stock.
Artwork freeze dates. Establish and communicate an internal artwork freeze date—the last date on which design changes can be made before they extend the lead time. Changes after this point may require plate remakes or digital file updates that reset the production clock.
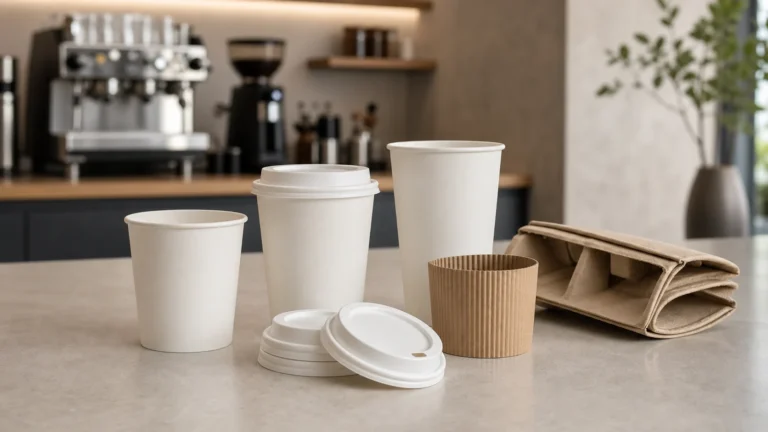
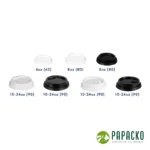
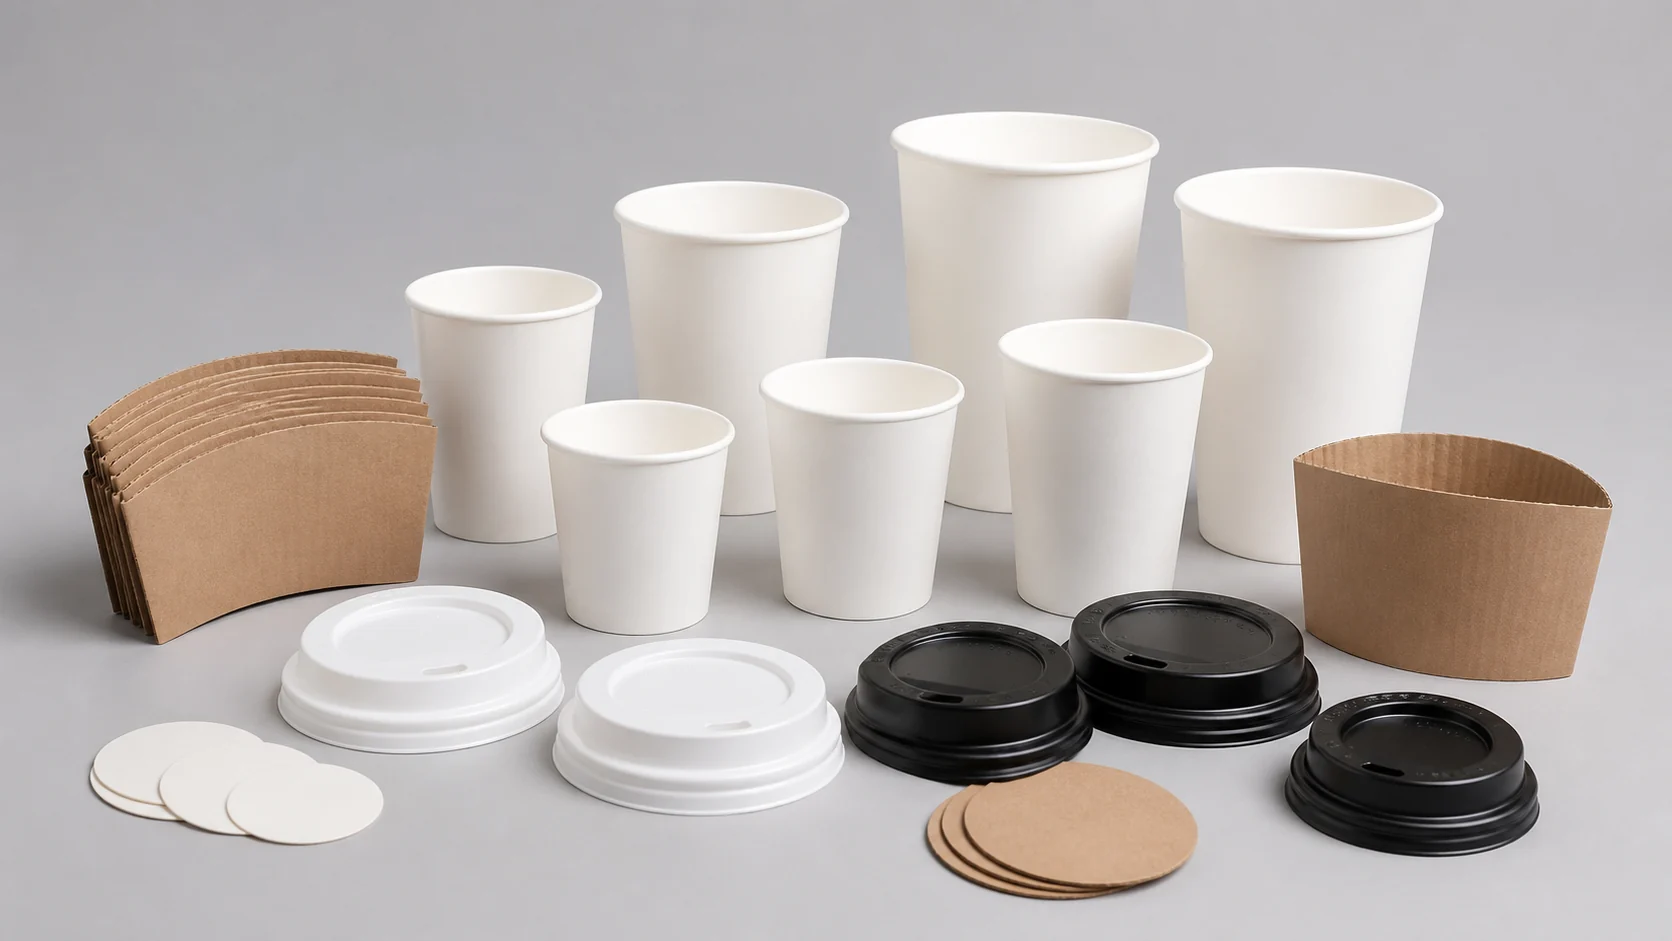
A paper cup without a well-fitting lid is an incomplete product, particularly in takeaway coffee and cold beverage applications. Cup and lid compatibility is determined by the rim diameter and rim profile of the cup, and by the inner diameter and sealing geometry of the lid. These are not universally standardised; a lid from one manufacturer may fit the rim of a cup from a different manufacturer, or it may not. The only reliable way to confirm fit is a physical fit test with actual production samples of both components.
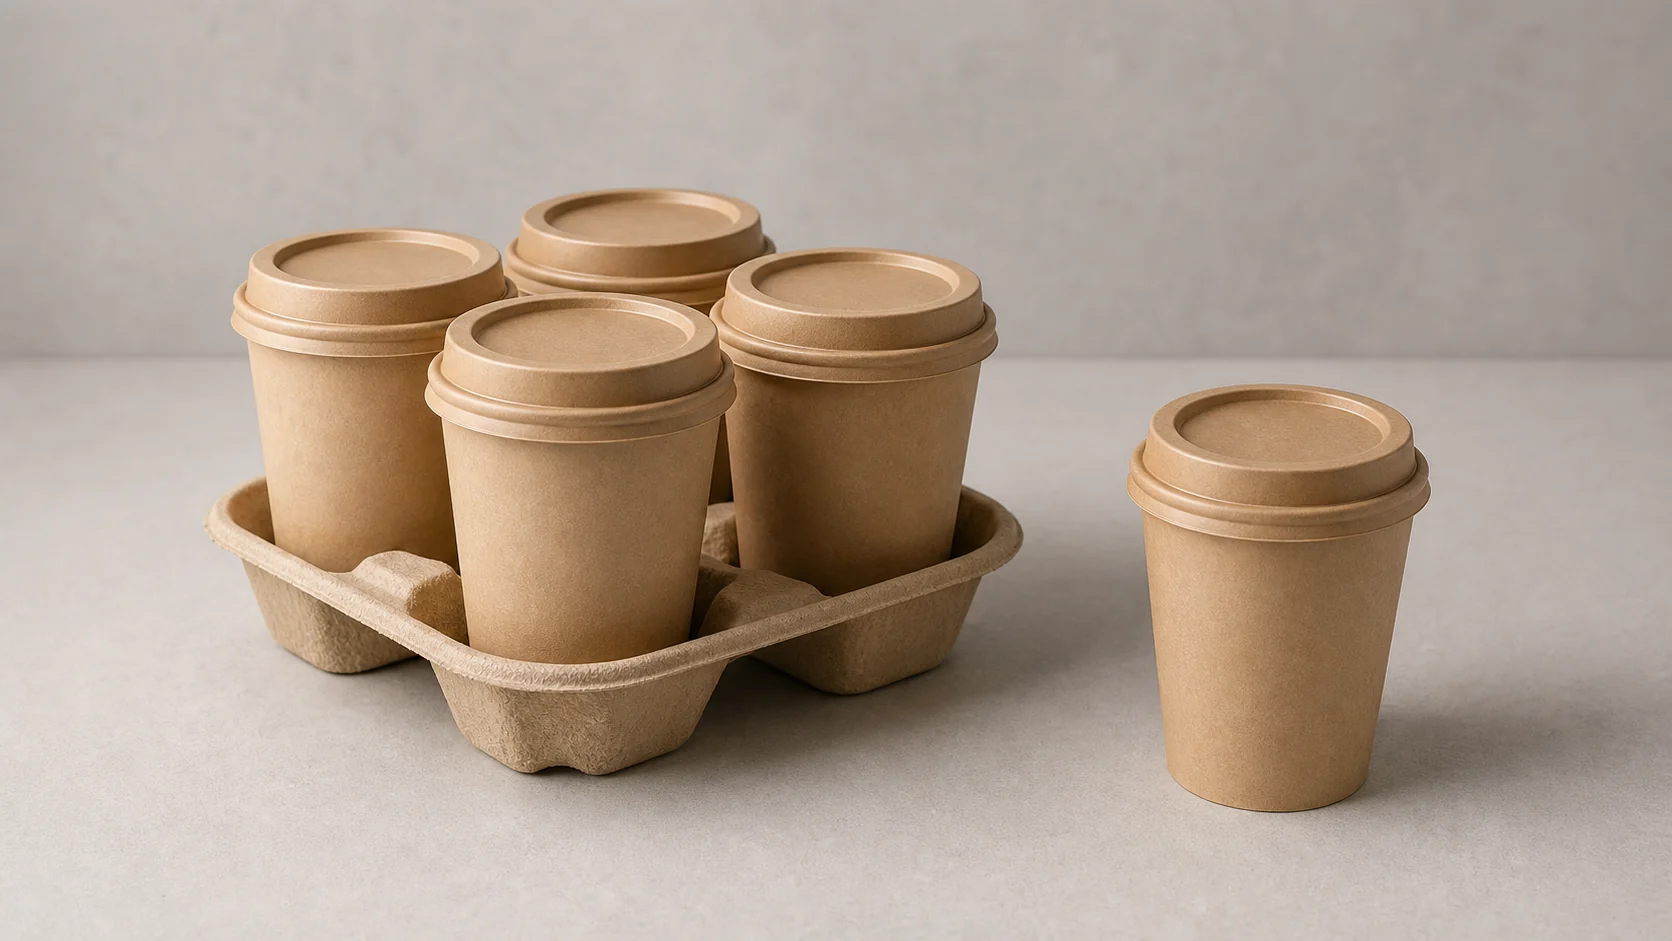
When sourcing custom paper cups, it is worth considering whether lids will also be sourced from the same supplier or system. Using matched cup and lid products from a coordinated range reduces the risk of fit failures and simplifies quality accountability. For buyers exploring the full range of available cup formats, the paper cups category provides a useful starting point, and the associated paper cup lids range can be reviewed in parallel to identify compatible systems.
Where lids are sourced from a different supplier, request rim diameter and profile specifications from both the cup supplier and the lid supplier, and conduct a physical fit test before confirming the procurement arrangement. Test under realistic conditions: filled cups, both hot and cold, with lids applied by the same method (by hand or by machine) that will be used in your operation. A lid that fits well on an empty cup at room temperature may behave differently when the cup is hot and the material has expanded slightly.
Custom paper cups are food-contact materials. In markets regulated by the United States Food and Drug Administration, the materials used in food-contact packaging are subject to the requirements described in the FDA food contact substances framework. Buyers sourcing from offshore manufacturers for use in the US market should confirm that the raw materials and coatings in their cups are compliant with applicable FDA regulations and obtain relevant documentation from their supplier.
Beyond regulatory compliance, a structured quality check programme should address:
Dimensional checks. Cup height, rim diameter, base diameter and capacity (measured by water fill to a stated level) should be verified against the agreed specification on each inbound delivery. Dimensional drift between production batches can affect lid fit, stacking stability and machine fillability.
Print quality checks. Colour density and registration should be verified against the approved proof using visual assessment under a standard light source. For high-volume or brand-critical programmes, spectrophotometric measurement of key colours against defined ΔE tolerances provides an objective quality record.
Seam integrity. The vertical seam of the cup should be visually inspected for completeness and tested for liquid integrity. A leaking seam is a critical defect.
Leak test on base seal. The base of the cup should be tested for liquid tightness. Standard industry practice involves filling a sample of cups with water, inverting or holding them under a defined load, and checking for leakage over a defined period.
Coating integrity. The interior coating—whether polyethylene, aqueous-based or an alternative—provides the primary barrier between the hot liquid and the paperboard. Visible coating defects, delamination or inadequate coverage are grounds for rejection.
Agree the acceptable quality level (AQL) for each defect category with your supplier in writing before the first production run. Document any non-conformances and establish a corrective action process.
Even where artwork has been proofed and approved, a pre-production sample of the formed and printed cup should be obtained and approved before the full production run is released. The pre-production sample confirms that the artwork translates correctly from the flat template to the three-dimensional formed cup, that the print is within colour tolerance, that the seam and base are correctly formed, and that the physical dimensions match the specification.
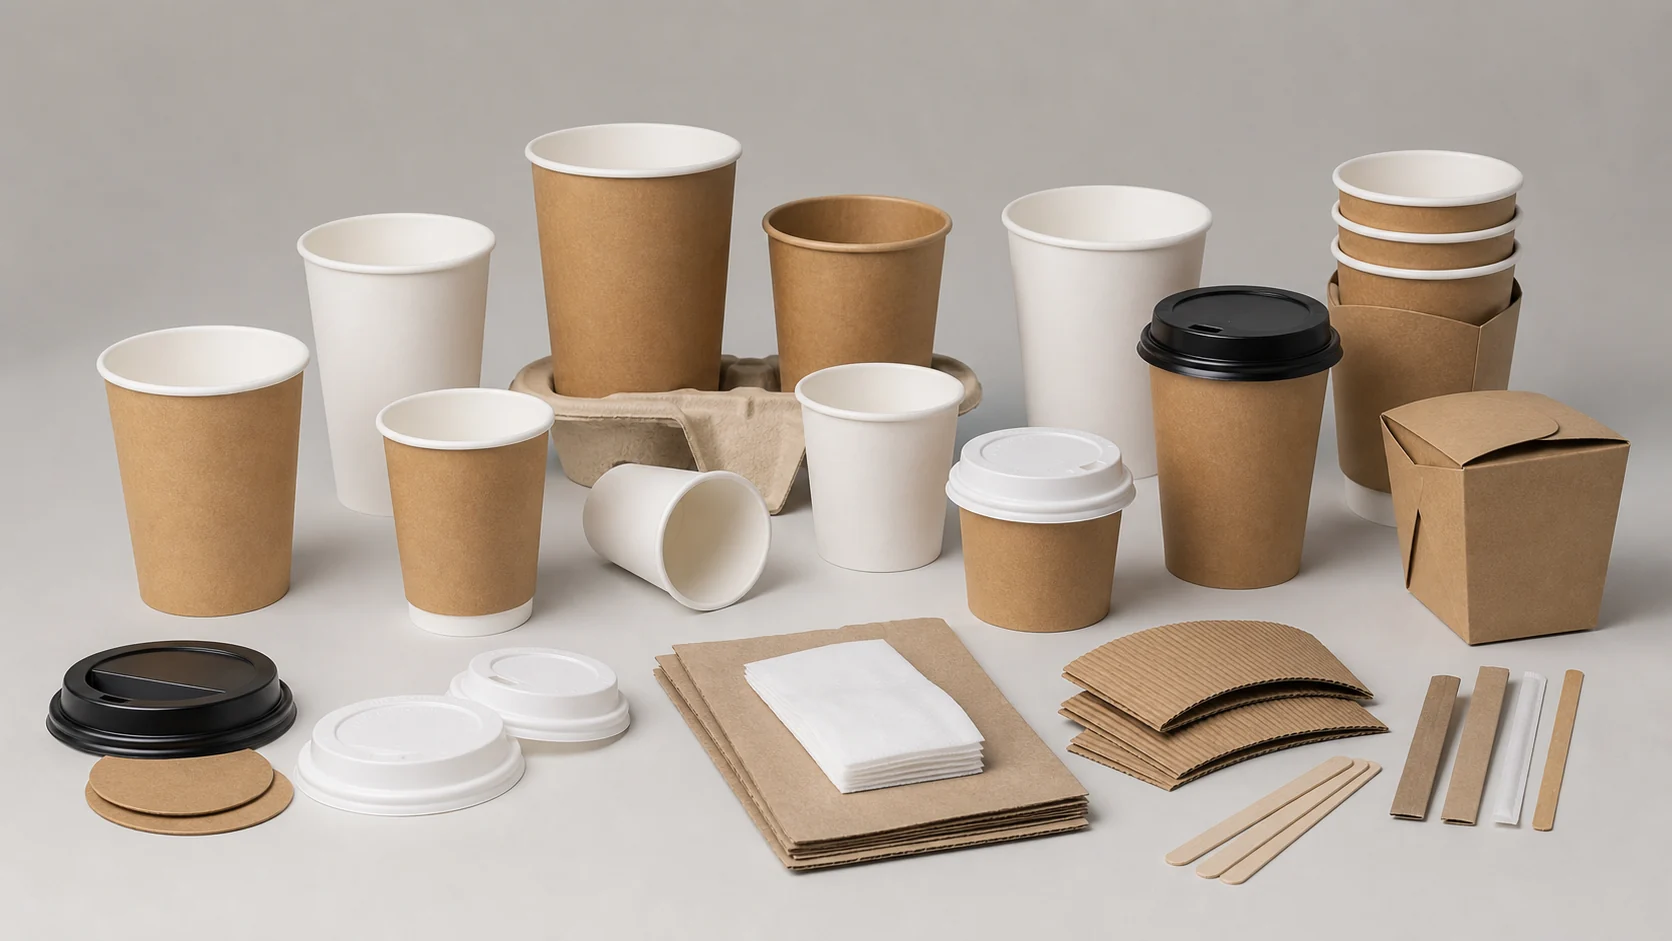
For coffee chain operators deploying custom cups across multiple sites, consider requesting a production sample of sufficient quantity to conduct live operational trials: testing with your coffee machine group heads and automatic lids, confirming that your cup dispensers load and dispense the cups correctly, and checking the behaviour of the cups in your specific hot-hold or cold-serve context. Operational issues discovered after a full production run has been delivered are expensive to resolve.
Retain signed copies of the pre-production sample approval, along with the physical sample itself or photographic documentation. These records support quality claims in the event of a subsequent delivery dispute.
Scaling a custom cup programme from a pilot to a multi-site rollout introduces new logistical and quality management considerations. Centralising the procurement decision and maintaining a single approved specification—including the agreed artwork version, the confirmed supplier SKU, and the approved AQL—provides a baseline against which each delivery can be checked.
Identify the conditions that should trigger a re-approval cycle before any of them arise:
Artwork revision. Any change to the printed artwork, including colour adjustments, text updates, logo revisions or the addition of regulatory copy, constitutes a new artwork version and requires a new proof approval cycle and a new pre-production sample before production.
Supplier change. If the cup is transferred to a different manufacturer, a full re-approval is required even if the artwork is unchanged, because raw materials, coating formulation, cup geometry and print process may all differ.
Raw material change. If the supplier notifies you of a change to the paperboard grade, the interior or exterior coating material, or the inks used, request updated food-contact compliance documentation and conduct a new pre-production sample review.
Regulatory update. Changes to applicable food-contact regulations in your market may require updated documentation, labelling changes or material reformulation. Monitor relevant regulatory channels and build a review trigger into your supplier management process.
Capacity or format change. If you add a new cup size or format to the programme—for example, adding a cold cup or a double-wall variant—treat it as a new product and run the full briefing, artwork, proofing and sampling process from the start.
For buyers looking to understand the broader packaging ecosystem within which custom cups sit, reviewing the coffee cups range alongside the wider disposable food packaging and takeaway packaging categories can help identify complementary products that support a consistent branded presentation across multiple service touchpoints.
The guidance in this article is structured around the practical challenges that commercial buyers, foodservice operators and procurement teams most commonly encounter when managing a custom paper cup programme. It draws on the types of questions that arise at each stage of the project cycle—from brief to rollout—and reflects the kinds of issues that result in delays, quality disputes or non-compliant product when they are not addressed proactively. The article does not assert direct testing of specific products; claims about print methods, dimensions and compliance requirements reflect general industry knowledge and should be validated against the specific documentation provided by your chosen supplier.
Where regulatory matters are referenced—specifically food-contact material compliance in the US market—the relevant primary source (the FDA’s published guidance) is cited directly. Readers should consult that source and any market-specific regulations that apply to their own geography. Print process descriptions reflect characteristics that are well established in trade literature for flexographic, offset and digital printing applied to paper cup substrates; they are not assertions about any single supplier’s capability. All specific claims about a given supplier’s MOQ, lead times, colour count, coating type or cup geometry should be obtained in writing from that supplier and verified against their current technical specification and template documentation.
Use this article as a project management framework, not as a substitute for supplier documentation. At each stage—brief, template, proof, sample, delivery, rollout—the checklist of considerations here should be used to generate the right questions for your supplier, your internal approvers and your logistics team. The value of the guide lies in ensuring that nothing is overlooked in sequence, not in providing supplier-specific answers that only the supplier’s own documentation can reliably supply. Where the article refers to specific product category pages, use them as starting points for product discovery and enquiry, not purchasing recommendations in isolation.
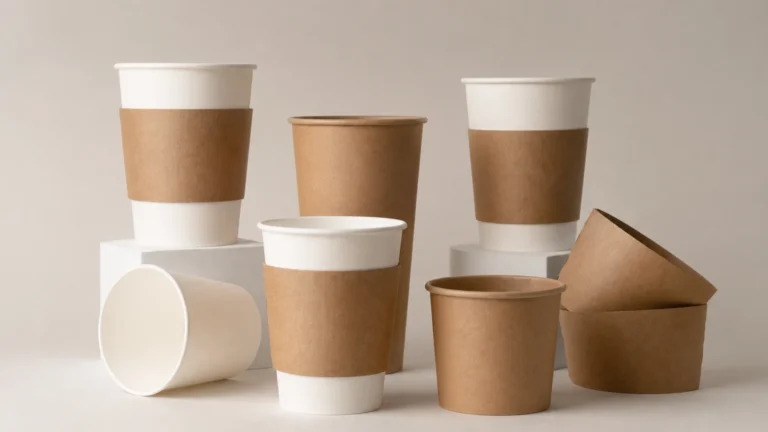
Before contacting a supplier for a quote, prepare the following: the specific cup size or sizes you need (in fluid ounces or millilitres, or referencing the supplier’s SKU if known), the intended application (hot beverage, cold beverage, or both), the construction type (single-wall, double-wall, or ripple-wrap), your estimated annual volume per SKU, the number of distinct artwork designs, any regulatory text that must appear on the cup, and your required delivery date. The more precisely you can specify your requirement upfront, the faster a supplier can return an accurate quote and confirm availability in your required format.
No. Each cup size corresponds to a different die-line template because the fan-shaped blank geometry changes with every combination of diameter and height. Artwork built and approved for one cup size will not map correctly onto a different size; it will appear distorted, misregistered or incorrectly scaled on the formed cup. Always request and work from the template that corresponds exactly to the confirmed SKU you are ordering, and reposition or resize artwork elements as required within each new template.
The most reliable approach is to address the potential for colour shift before artwork is submitted rather than after the first proof arrives. Ask your supplier for a CMYK colour profile or press fingerprint for their specific print process and substrate, if available. Use this to simulate on-screen how your Pantone brand colours will reproduce in CMYK before finalising the design. Where an exact CMYK match to a key brand colour is not achievable, discuss with your supplier whether a spot colour print station is available and economically viable for your volume. If CMYK reproduction is the only option, agree in writing on the ΔE tolerance against the approved reference colour and document it as part of the quality specification.
MOQ varies materially between suppliers, print methods and cup formats, and it is not appropriate to cite a single figure that would apply across the market. As a general principle, traditional plate-based print processes (flexographic and offset) carry higher MOQs because plate costs must be recovered across the production run, while digital printing may allow lower MOQs at a higher per-unit cost. The only reliable way to obtain your MOQ is to request it in writing from your specific supplier for the specific SKU and print method you are considering. Build that confirmed MOQ into your supply planning and ensure your annual volume forecast supports an economical number of production runs per year.
Re-approval should be triggered by any of the following events, regardless of how recently the previous approval took place: a change to the artwork (any change, however minor); a change of supplier or manufacturing site; a supplier-notified change to raw materials, coatings or inks; a change to applicable food-contact regulations in your market; or the addition of a new cup size or format to the programme. For stable programmes with no changes, a periodic review—at minimum annually—is good practice to confirm that the current production specification still matches the original approved sample and that no undisclosed material changes have occurred.
Yes. Lids are independent food-contact articles and are typically made from a different material (commonly polystyrene, polypropylene, PET or a paper-based alternative) to the cup itself. Each material is subject to its own regulatory requirements. In the US, the applicable framework is the FDA’s food contact substances regulations. Request material declarations and, where required, formal compliance documentation from your lid supplier independently of the documentation you obtain for the cup body. If your cup and lid are sourced from different suppliers, you will need to manage compliance documentation for each. Sourcing from a supplier that offers a coordinated cup and lid system can simplify this process, though documentation must still be requested and retained for both components.