¿Está listo para crear sus propios vasos o envases de papel con su marca?
Díganos sus requisitos -tamaño, revestimiento, impresión y destino- y nuestro equipo le preparará un presupuesto detallado en 24 horas.

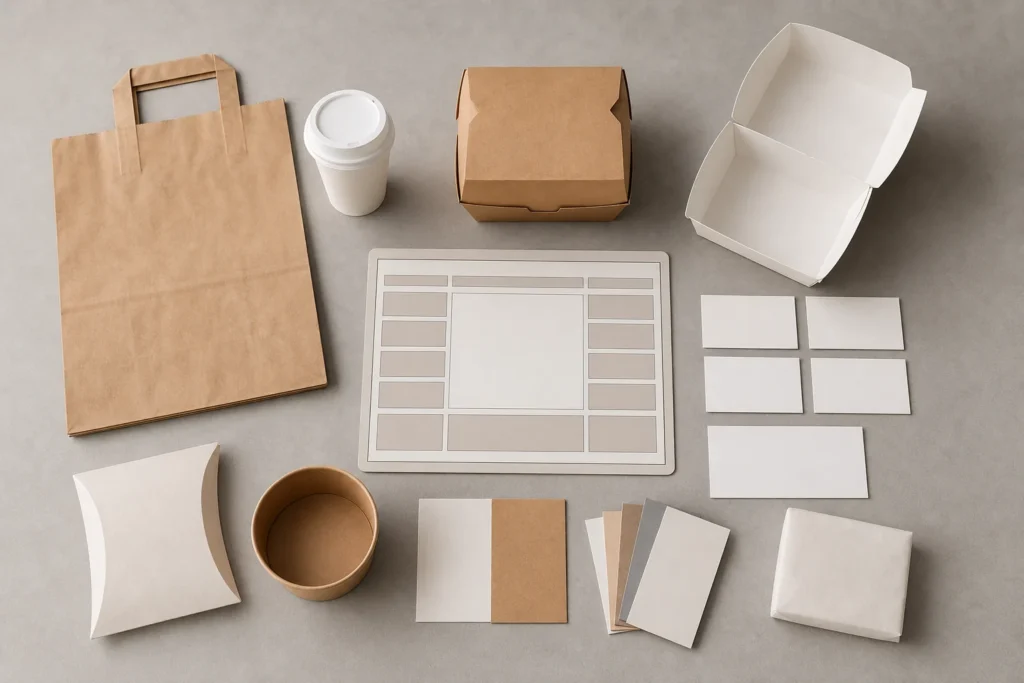
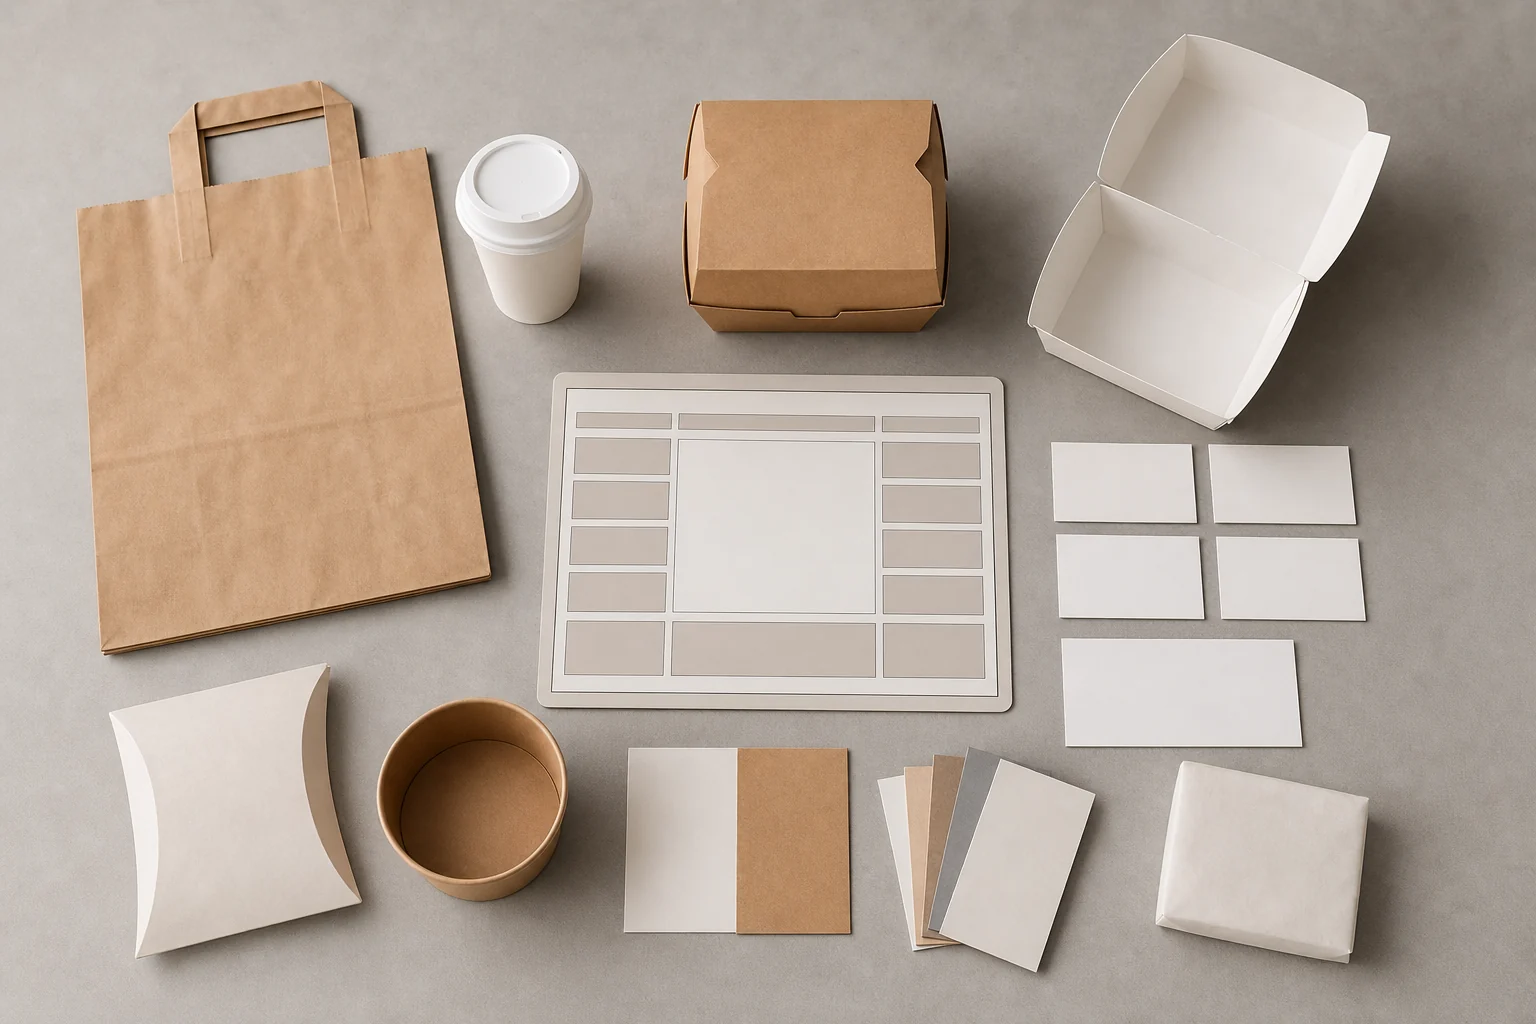
Most custom packaging delays trace back to a vague starting point. A supplier can quote a price and turn a dieline around quickly, but if the brief changes mid-stream — because the container that looked right online turns out to be a different capacity, or because a second location needs a slightly different print — the project resets. Every reset costs time and can cost money.
A solid project brief answers these questions before any artwork template is requested:
What is the packaging system? Name every component: primary container, lid or closure, sleeve, carryout bag, cup, and any ancillary items like napkins. Each component is its own mini-project. A brief that covers only the container and forgets the bag or the napkin will generate at least one additional artwork round after the fact.
What food or beverage will the packaging hold? You do not need to share recipes, but you do need to communicate whether the package will contact hot food, cold food, liquids, oily or acidic ingredients, or dry goods. This affects material and coating discussions with your supplier. For background on how regulators think about food types and conditions of use, the FDA publishes a reference at understanding food types and conditions of use for food-contact substances — that resource is useful for understanding the framework, not as a substitute for confirming your specific application with your supplier and relevant authorities.
Where will the packaging be used and disposed of? Local regulations on single-use packaging, labeling, and disposal vary by city and state. Confirm destination requirements with your team and legal counsel; do not assume that a material type automatically satisfies a local ordinance.
What is the volume and timeline? Be specific about locations served, anticipated weekly unit consumption, and any seasonal peaks. This shapes the production-run discussion and informs how much inventory buffer makes sense.
Who are the stakeholders? Name the person who approves artwork, the person who approves the sample, and the person who signs the production release. If those are three different people, build that into the timeline. If one person wears all three hats, confirm they are available during the approval windows.
Once the brief is agreed internally, the next step is translating it into a specification document for every component. A specification document is not a purchase order. It is a reference sheet that travels with the project and becomes the quality benchmark for inspection.
For each component, the specification should capture:
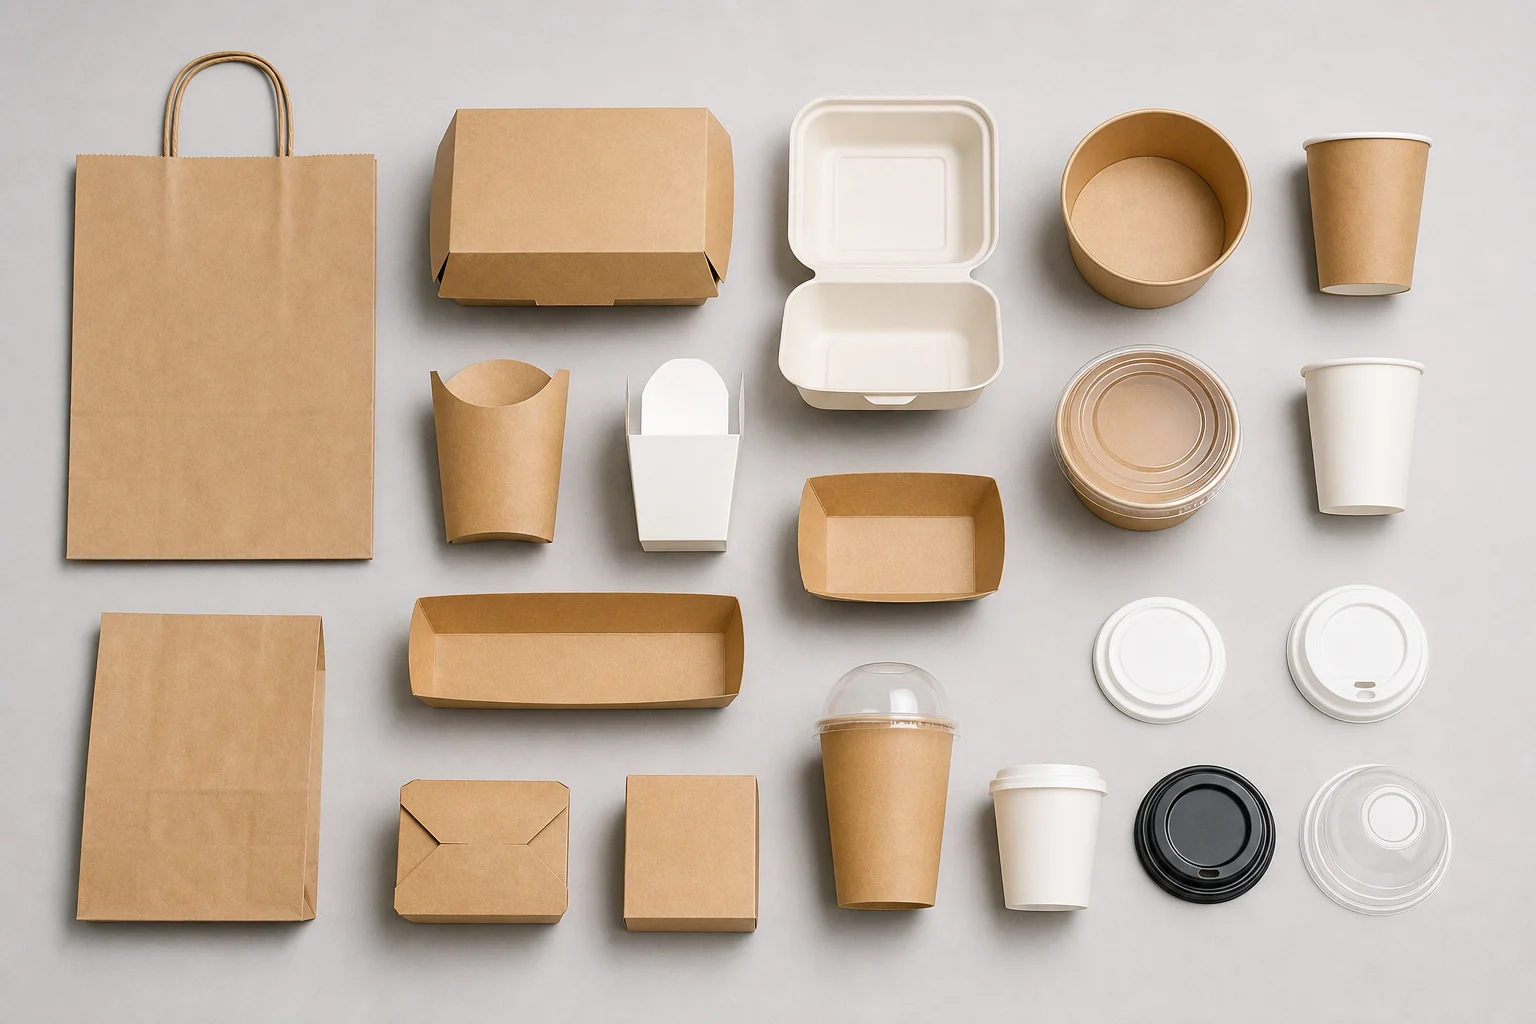
When you are building a multi-component system, it is worth reviewing the full range of envases para alimentos available before finalizing specifications, because compatibility between primary containers and closures, or between containers and carryout bags, is easier to confirm early than to retrofit after artwork has been completed.
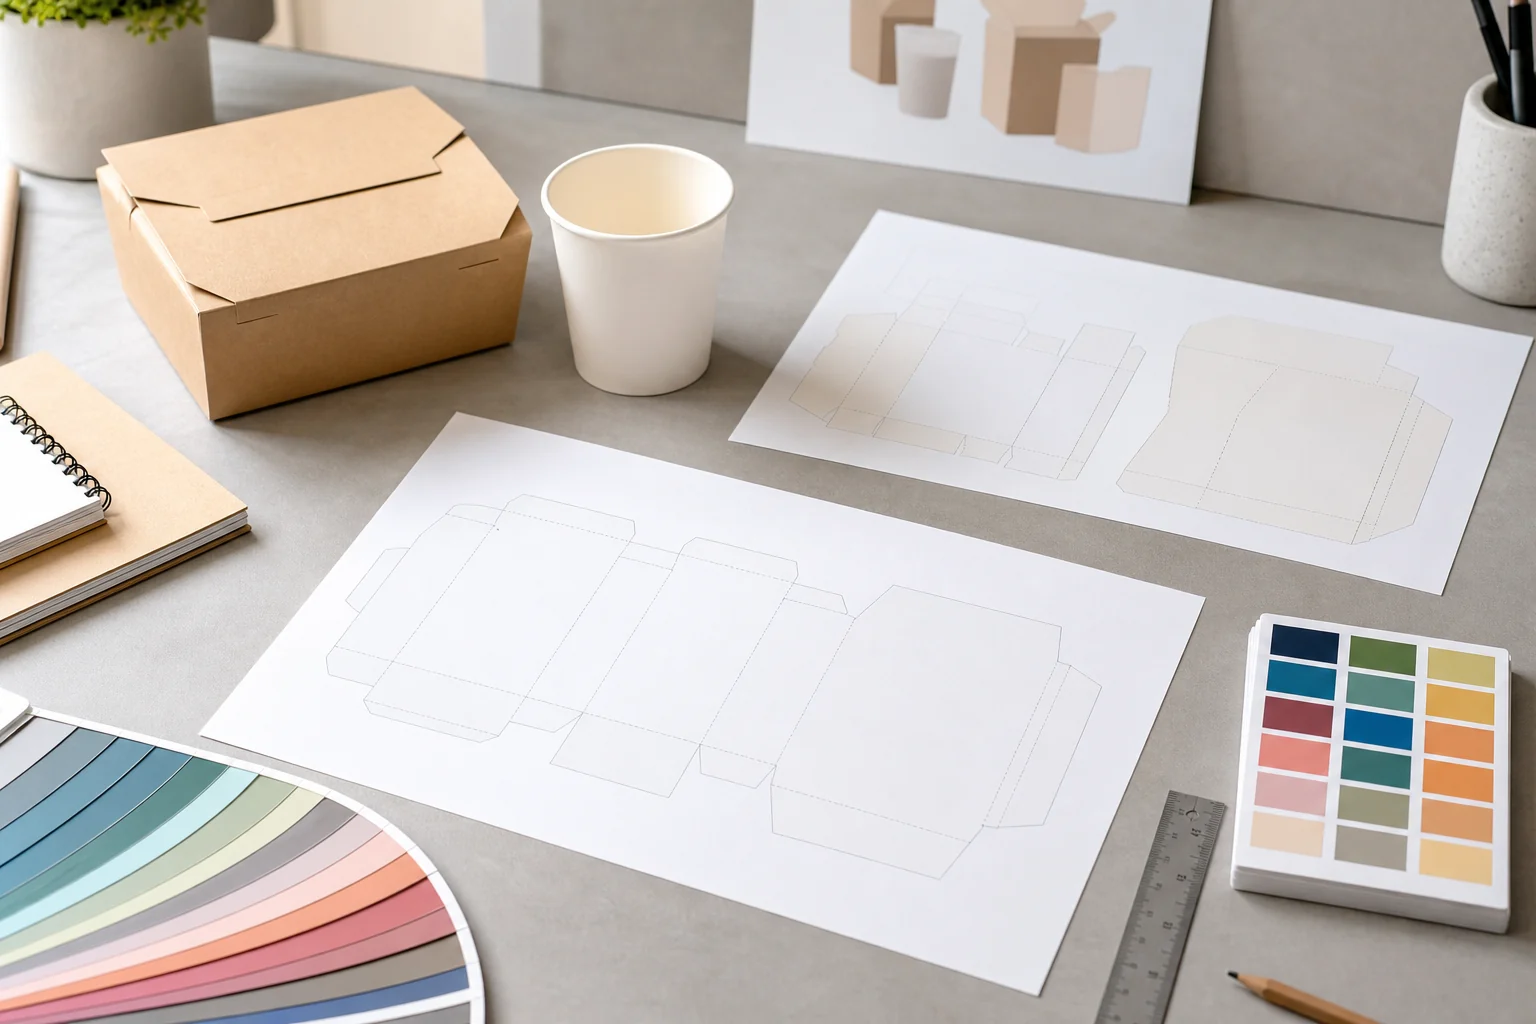
If your system includes paper-based components, confirm dieline templates for each item independently. A paper food containers dieline and a bag dieline are structured differently and require separate artwork files. Do not attempt to adapt one template to fit another format.
Artwork is where most custom packaging projects stall. Common causes include delivering artwork in the wrong file format, missing bleed and safe-zone setup, using RGB color values in a file intended for print, and providing a logo at screen resolution rather than press-ready resolution.
File format. Most suppliers accept print-ready PDF files built to their dieline. Some also accept layered AI or EPS files. Confirm the required format before you start artwork preparation. If you are working with a freelance designer or agency, share the supplier’s artwork guide with them directly — do not paraphrase it.
Color mode. Artwork intended for print is commonly set up in CMYK or spot color. RGB files will be converted at some point in the workflow, and the conversion can shift colors in ways that are difficult to predict without a proof. If brand color consistency matters, specify the agreed color references in the brief.
Bleed and safe zones. Packaging dielines include a print bleed area and a safe zone. Your design should fill the bleed and keep essential elements inside the safe zone. A supplier may flag artwork that violates these zones; it is faster to resolve the file before it reaches prepress than after.
Version control. Label every artwork file with a version number and date. Use a naming convention such as BrandName_ComponentName_v01_YYYYMMDD.pdf. When a revision is made, increment the version number. Never overwrite the previous version. This practice prevents the wrong file from going to print and creates a clear audit trail when a question arises later.
Document package. Along with the artwork file, supply a brand guide or color specification sheet, the signed-off dieline template, and notes about areas of the design that require special attention during prepress review.
A structured approval workflow has four gates. Skipping any gate increases the risk of a print run that cannot be used.
Gate 1: Dieline confirmation. Before artwork is placed, the empty dieline is confirmed — dimensions, fold lines, glue panels, and any cut-outs — against the physical item or the supplier’s specification sheet. Sign off on the dieline version before artwork placement begins.
Gate 2: Artwork preflight. The supplier’s prepress team checks the submitted file against their technical requirements. They flag issues such as resolution, color mode, bleed, and font outlines. You receive either a prepress pass or a list of corrections. Correct and resubmit if flagged; do not ask the supplier to make design decisions on your behalf.
Gate 3: Proof review. A proof may be a digital softproof, a physical press proof, or a pre-production sample. Digital proofs are faster but cannot fully represent the final printed color. Physical proofs or production samples can give you information about color, material feel, and the structure that a digital file cannot.
When reviewing a proof, check every element systematically: logo placement, logo color, tagline, address, phone number or website, any regulatory text required for your market, and the structural interaction of the package, such as whether a lid fits the specified container or a bag closes as intended. Document your review in writing — use an annotation sheet, not a verbal conversation — and sign off or mark corrections clearly.
If corrections are needed, issue a clear, numbered list of changes tied to the version being corrected. Specific feedback tied to a panel, mark, or approved mockup is more actionable than a general note that a logo looks wrong.
Gate 4: Production release. Once a proof is approved with no outstanding corrections, a signed production-release document authorizes the supplier to proceed. The production release identifies the artwork version, the proof or sample that was approved, the quantity, and the authorized signatory. This document is the formal handoff. Without it, a verbal instruction to proceed creates ambiguity about what was actually approved.
After the production release is signed, your role shifts from approver to monitor. Establish the following checkpoints in writing before production begins:
Pre-production checklist:
In-production checkpoints:
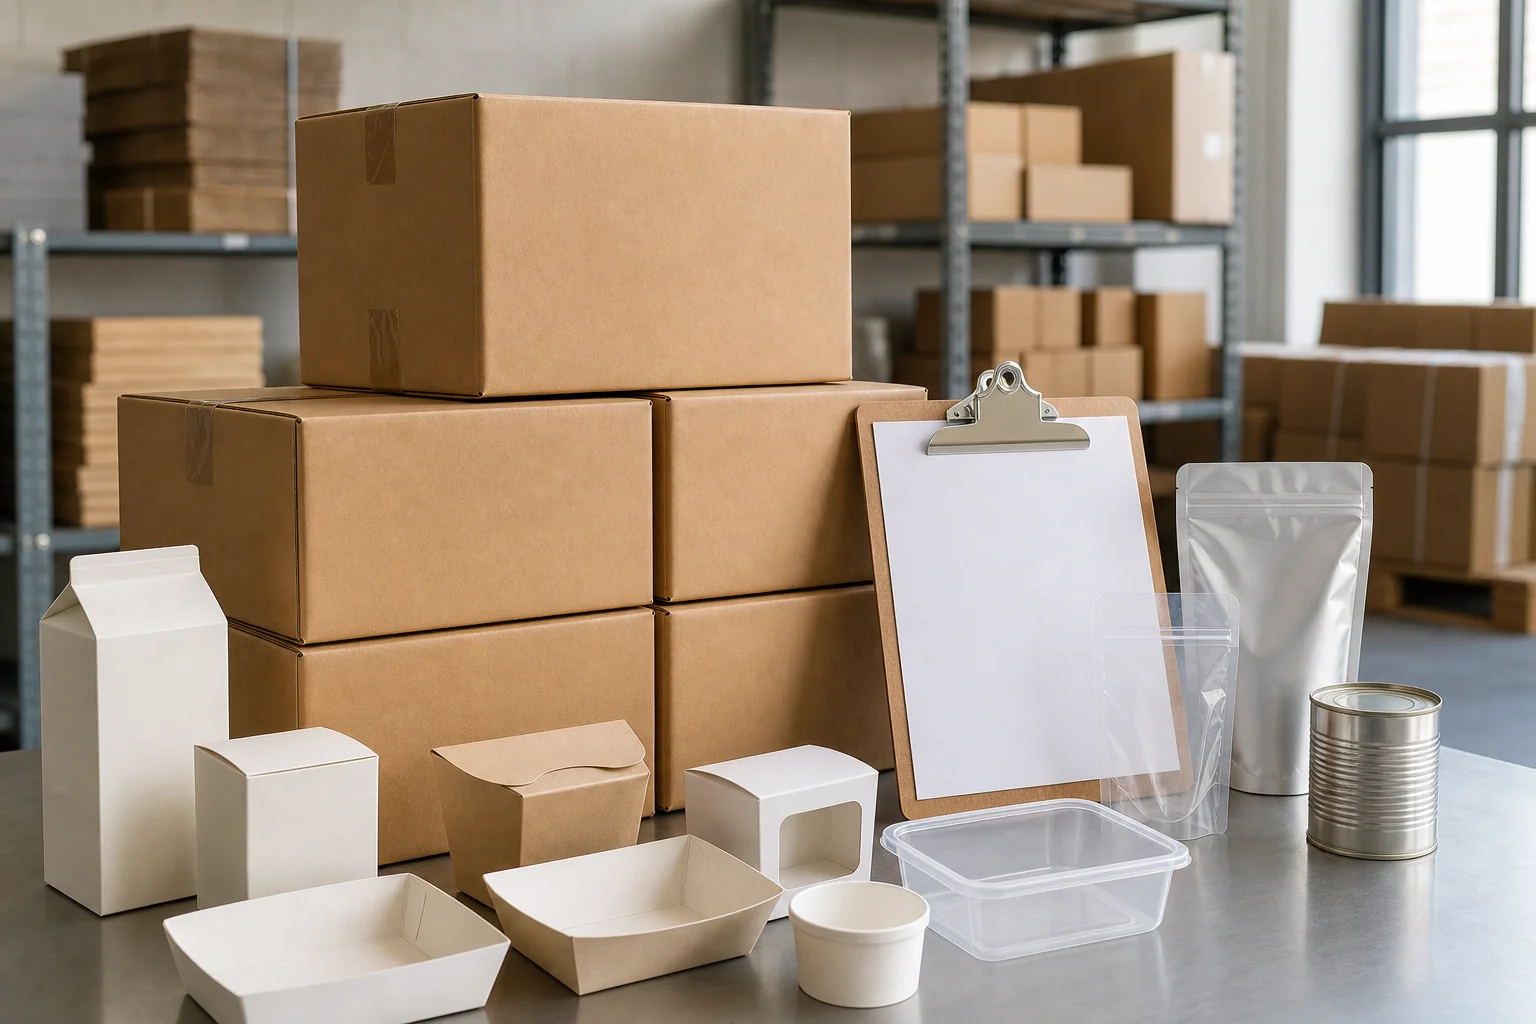
Pre-shipment review. Ask your supplier whether a pre-shipment inspection report or photos are available. Photos of assembled cartons with legible carton markings can give your receiving team a useful reference before freight departs, but they do not replace the receiving inspection.
Custom packaging arriving at a restaurant, café, or commissary kitchen often lands when no one is ready to do a thorough inspection. Plan for this by establishing a receiving checklist in advance.
At receiving:
If received product does not match the approved sample in a meaningful way, do not place it into service. Contact your supplier with photographs and the specific discrepancy before the product is used.
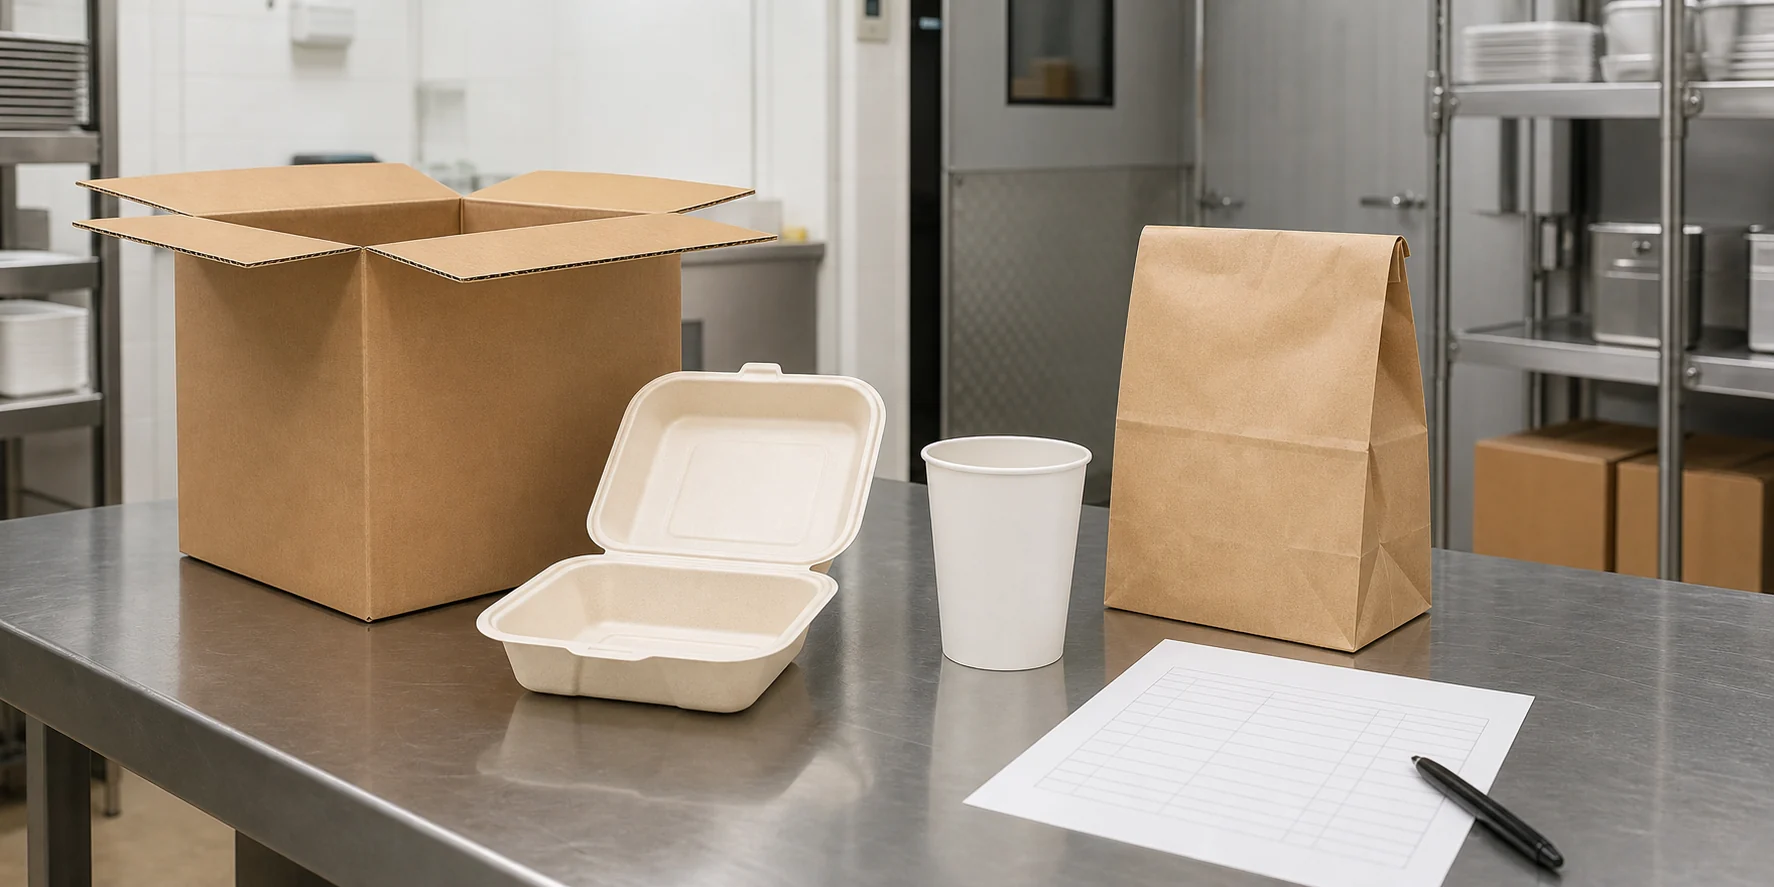
Phased rollout. For multi-location operators, consider piloting new custom packaging at one or two locations before a system-wide rollout. A pilot can surface practical issues — storage footprint, assembly ergonomics, and customer response to a new design — before every location receives the new stock.
Keep a reserve of previous packaging through the pilot period so you have a fallback if an issue is found. Document the cutover date at each location so mixed inventory does not create confusion in photos, social posts, or customer communication.
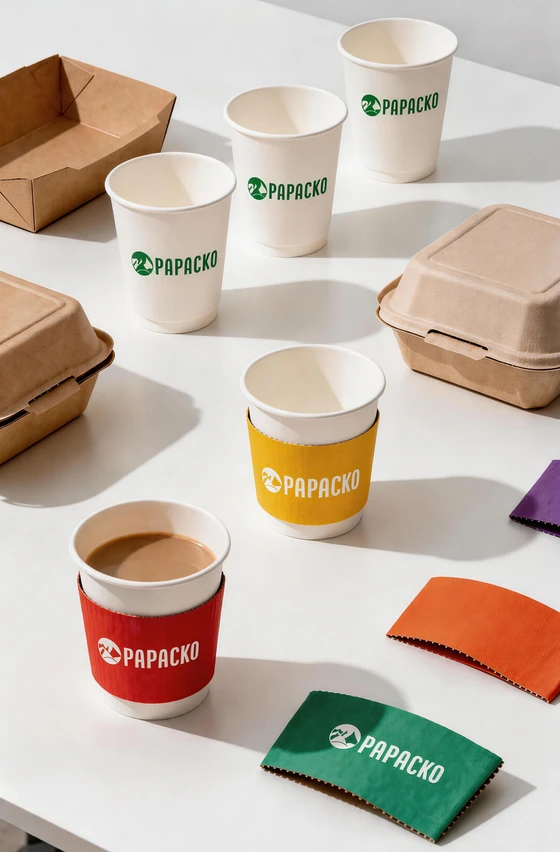
Building your custom packaging system? Papacko works with restaurants, cafés, catering companies, and foodservice operators on multi-component custom packaging projects. Whether you are specifying a full system — from custom paper cups to custom paper bags to custom napkins — or sourcing a single branded item for a new location, the team can walk you through dieline templates, artwork requirements, and an approval workflow. Reach out to start your project brief and get component specifications for your specific food application and quantity.
There is no universal number. Projects with a clear brief, a brand guide, and a designer familiar with print production for packaging may reach an approvable proof with fewer rounds. Projects where the brief evolves, where artwork is prepared without the supplier’s dieline, or where multiple stakeholders have input at different stages often require more rounds. The best way to reduce rounds is to resolve internal disagreements before the first artwork file is submitted.
Not without modification. Each component — a cup, a bag, a container, or a napkin — has a different dieline, print area, and potentially a different material and print process. Artwork must be rebuilt or adapted for each component’s specific template. Reusing a logo file is fine; reusing a full layout built for one format on another format is not.
A dieline is a technical template showing the shape of a packaging component when it is laid flat before folding and assembly. It marks cut edges, fold lines, glue panels, and any windows or perforations. Placing artwork on a dieline helps design elements land in the intended position on the finished package. Always build artwork on the current, confirmed dieline provided by your supplier.
Stop before placing the product into service. Document the discrepancy with photographs alongside the approved sample, and contact your supplier in writing with the specific differences noted. Do not discard or use the product until you have a written response from the supplier. The production release and signed proof serve as your reference documents in this situation.
Confirm this with your supplier for each reorder. If the artwork file, dieline version, and materials are unchanged and a prior production run was accepted, a supplier may be able to proceed on a standing approval. However, if any element has changed — even contact information or logo version — a new artwork approval cycle may be required. It is safer to confirm explicitly than to assume a previous approval carries forward.
Assign a unique internal SKU to each custom item and track inventory at each location separately. Establish a par level that accounts for your consumption rate, supplier lead time, and a reasonable buffer. When a new artwork version is introduced, document the version change and manage the depletion of older inventory deliberately, particularly if a design change reflects updated text or contact information.