¿Está listo para crear sus propios vasos o envases de papel con su marca?
Díganos sus requisitos -tamaño, revestimiento, impresión y destino- y nuestro equipo le preparará un presupuesto detallado en 24 horas.

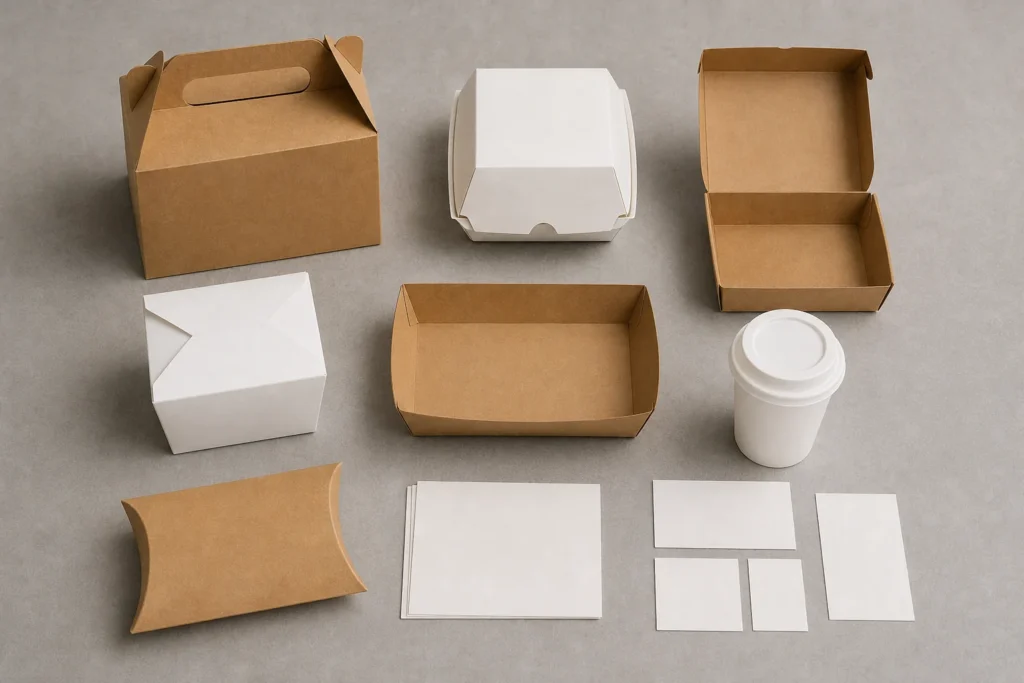
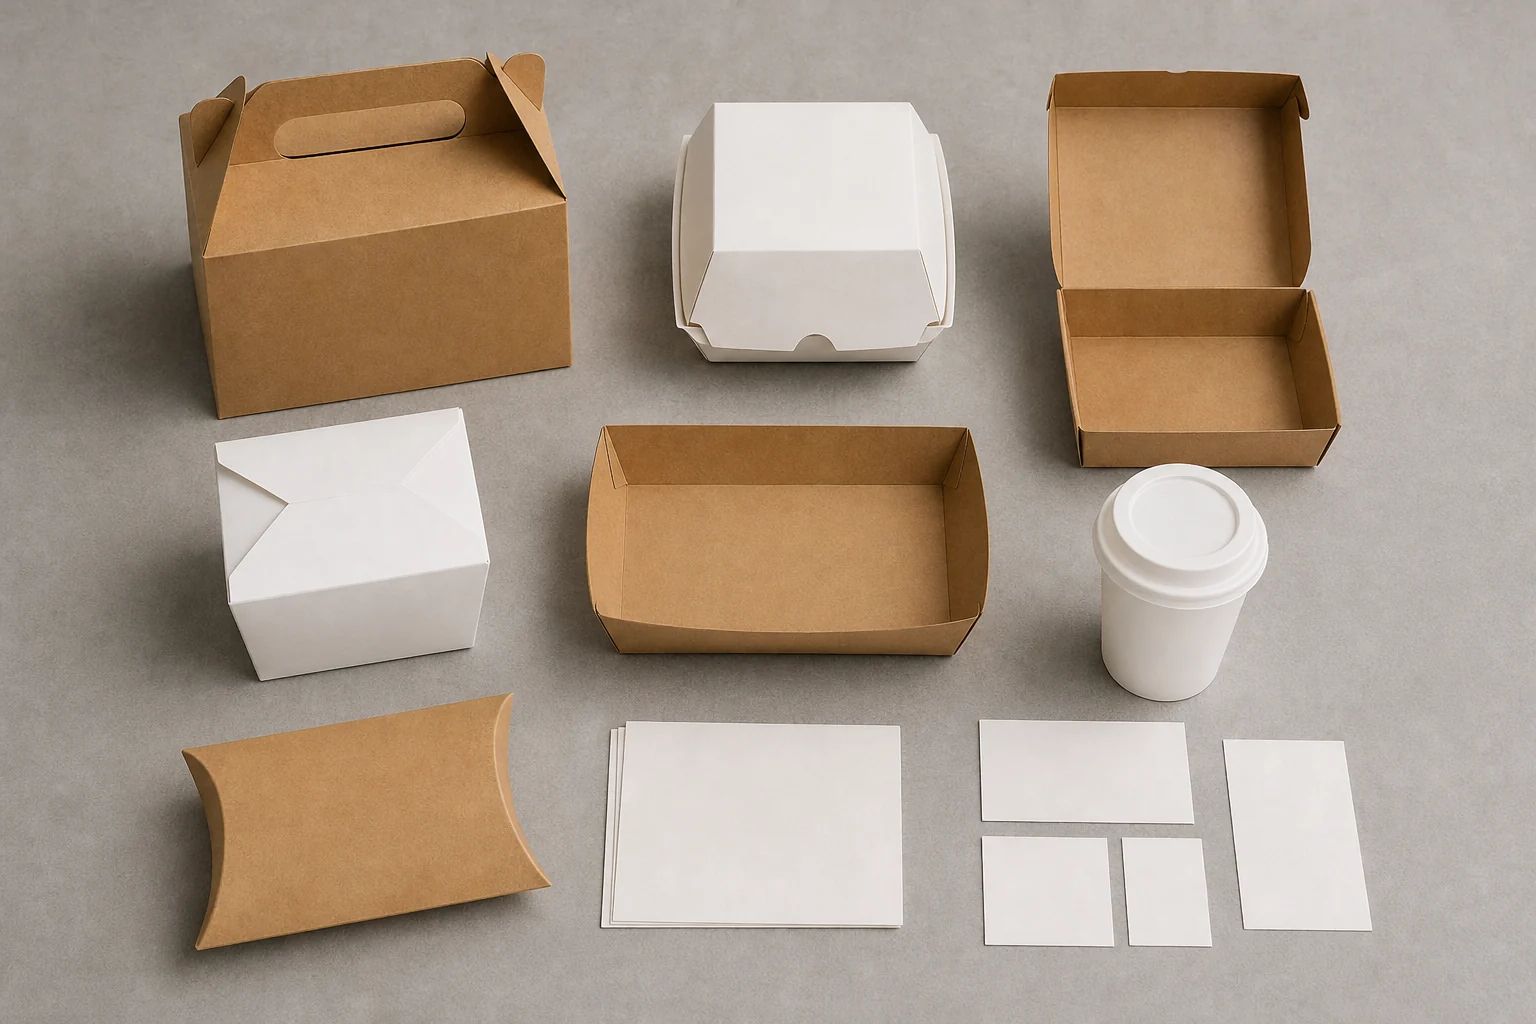
A custom food box is a packaging component, a printed brand surface and an operations tool. The project brief should cover all three before a buyer asks for pricing, a dieline or a proof. Otherwise, decisions migrate into email threads and it becomes difficult to establish which version of the box was actually approved.
Describe the service situation first. Record the category of items the box is intended to carry, the order assembly sequence, any secondary component, the storage and handoff environment, and the destinations where the box will be used. These details do not prove a performance result. They help the supplier and buyer discuss available exact-SKU options and identify what needs confirmation.
List the full brand scope: logo, color references, required copy, contact details, pattern assets and legal text where applicable. Mark which elements are mandatory and which may change. Supply current vector logo files rather than a screenshot or an old social-media graphic. Every submitted artwork file should carry a version, date and responsible approver. Never replace an approved file in place.
The brief should also name the operational owners. One person may prepare artwork, another may review a proof, and another may receive the first shipment. Identify each decision, the person accountable for it and the record they must keep. A controlled approval path prevents a verbal instruction from becoming an unintended production release.
Finally, include purchasing and delivery context: expected use pattern, locations, warehouse or store constraints, receiving hours and the buyer contact. These are planning inputs. The supplier must still confirm the actual box configuration, production path and timing for the project.
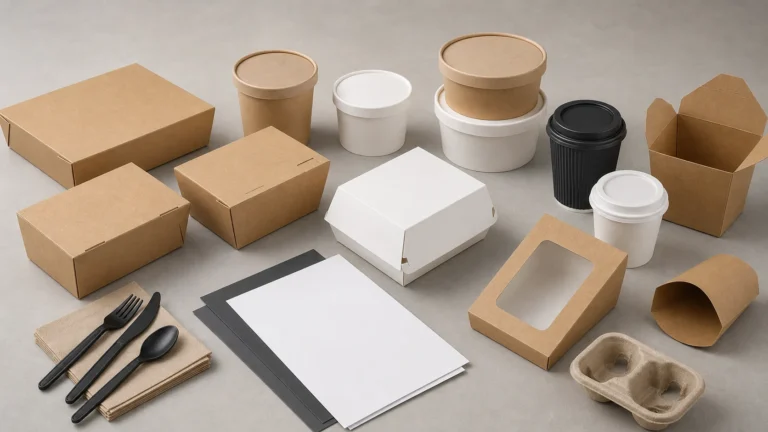
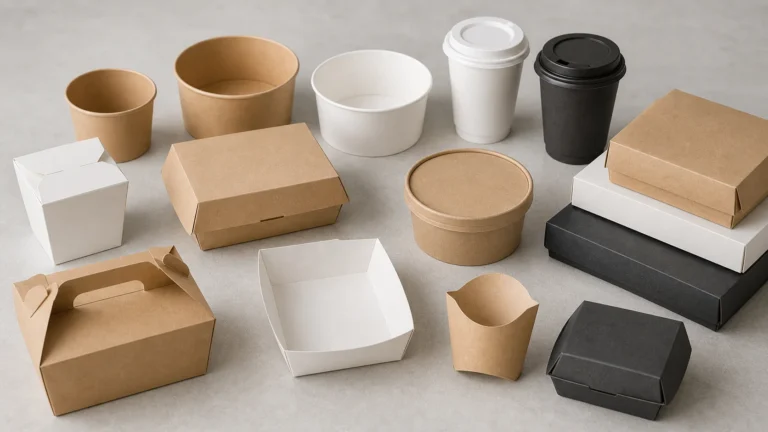
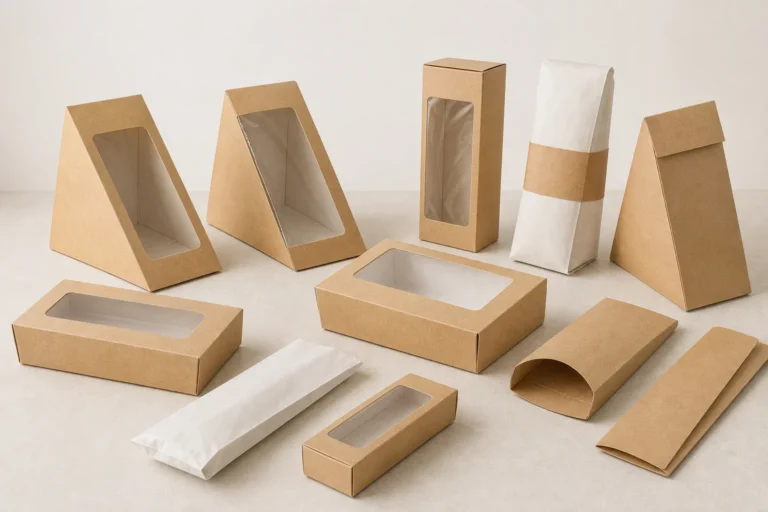
Food boxes come in different folding and closure structures. A fold-over carton, tuck-end construction, tray-and-sleeve set or windowed box can each create a different packing and brand presentation workflow. A category name is not enough to establish suitability. Review the current supplier documentation for the specific item under consideration.
Create a component sheet that records the supplier’s SKU, current dieline revision, chosen construction, exterior panels, closure details, artwork version, pack-out reference and carton-marking needs. If a component has a window, liner, adhesive, insert or secondary sleeve, include it in the record. Those details are part of the system and should not be assumed from a general product name.
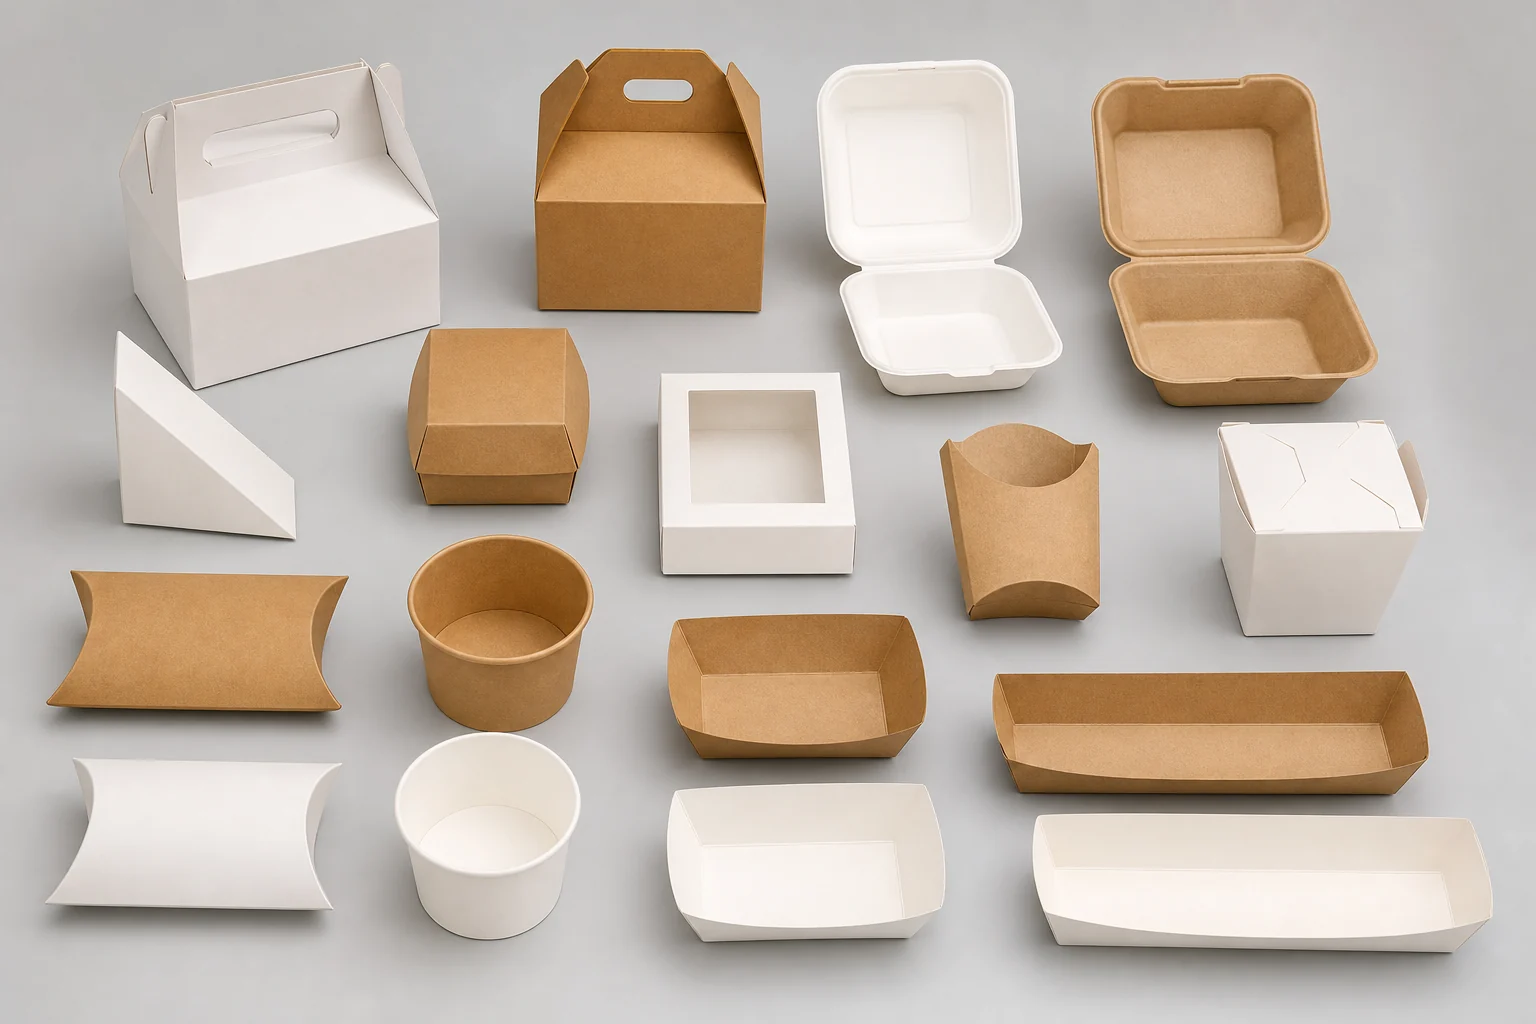
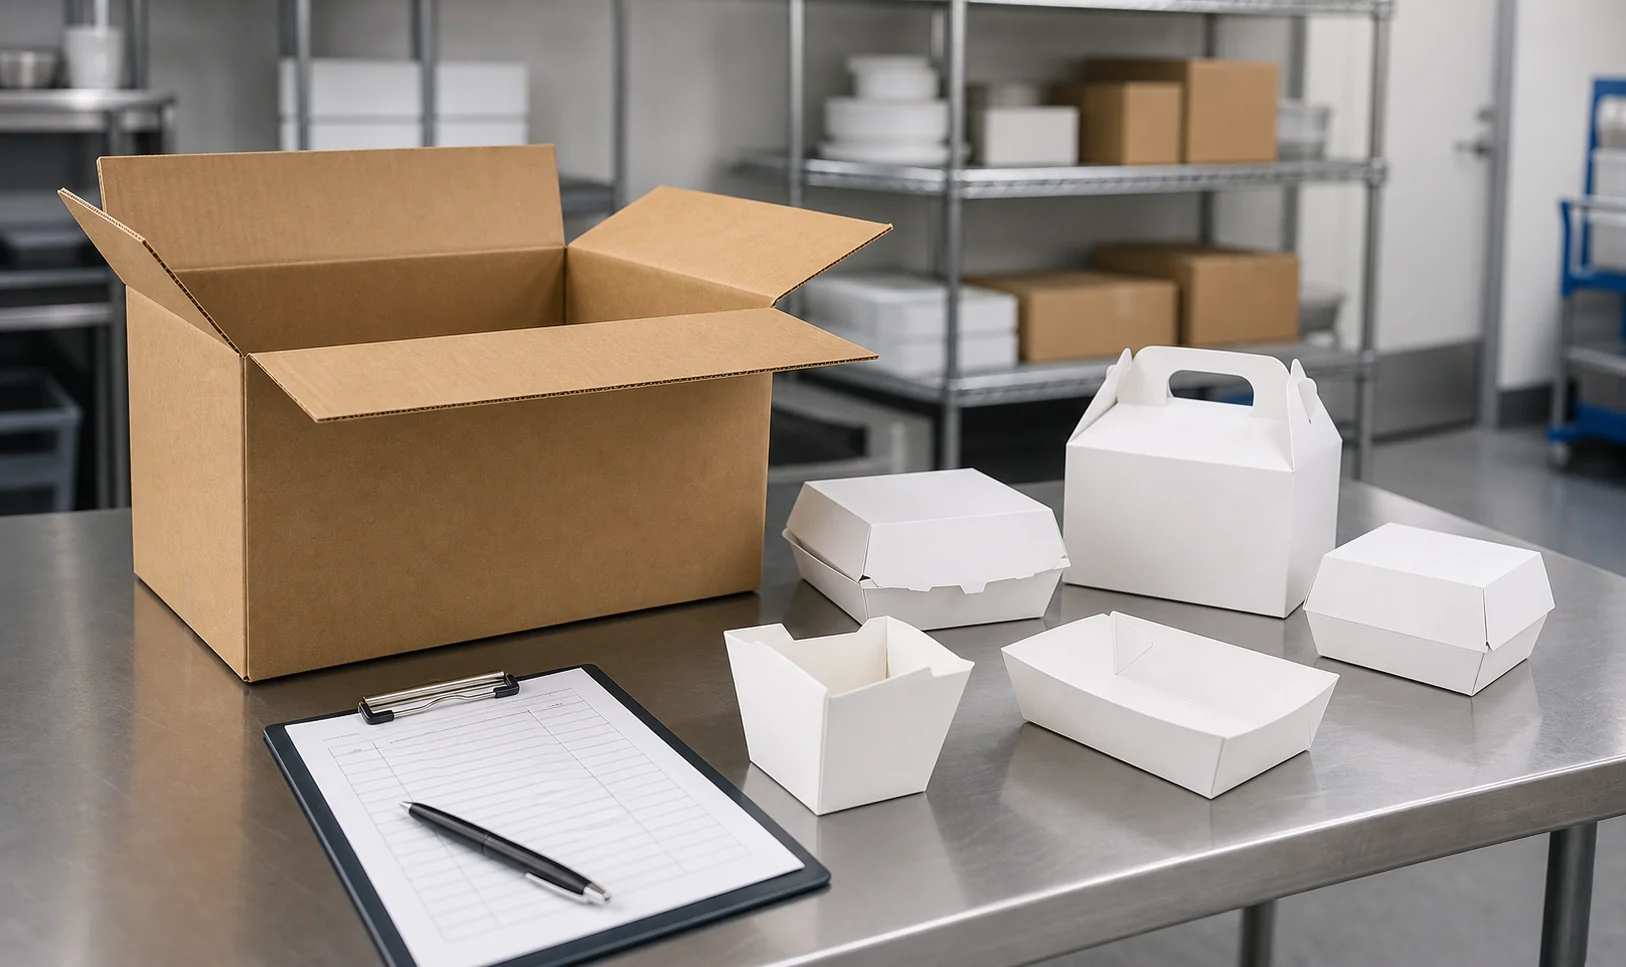
Assess the box with the rest of the actual order. Envases para alimentos y paper food containers can provide context for the broader carryout system, but each component still needs its own confirmed reference. Review representative items together at the intended packing station so the team can discuss the sequence, stacking and handoff constraints with evidence rather than assumption.
Use the current supplier dieline for every layout. It identifies construction boundaries, folds, safe areas, bleed areas and panels. A design built on a previous supplier’s template must not be transferred without a new dieline review. If tooling or a template changes, return to artwork review before release.
Material selection is a controlled discussion involving the substrate, any coating or lining, adhesives and printing path. A material description alone is not a food-contact, disposal, temperature or barrier claim. Buyers should document the intended use and request exact-SKU confirmation from appropriate parties before a release decision.
The FDA’s food types and conditions of use guidance for food-contact substances can help a buyer understand why food type and conditions of use matter. It is not product approval, certification or a compliance conclusion for a particular box.
Keep artwork separate from material assumptions. Build files on the approved dieline and ask the supplier which file format, color setup, embedded assets and technical controls apply to the planned print process. Flexographic, digital and other workflows can have different requirements. The appropriate choice depends on the actual artwork, substrate, supplier capability and commercial project parameters; do not treat one as universally better.
Use a controlled file package:
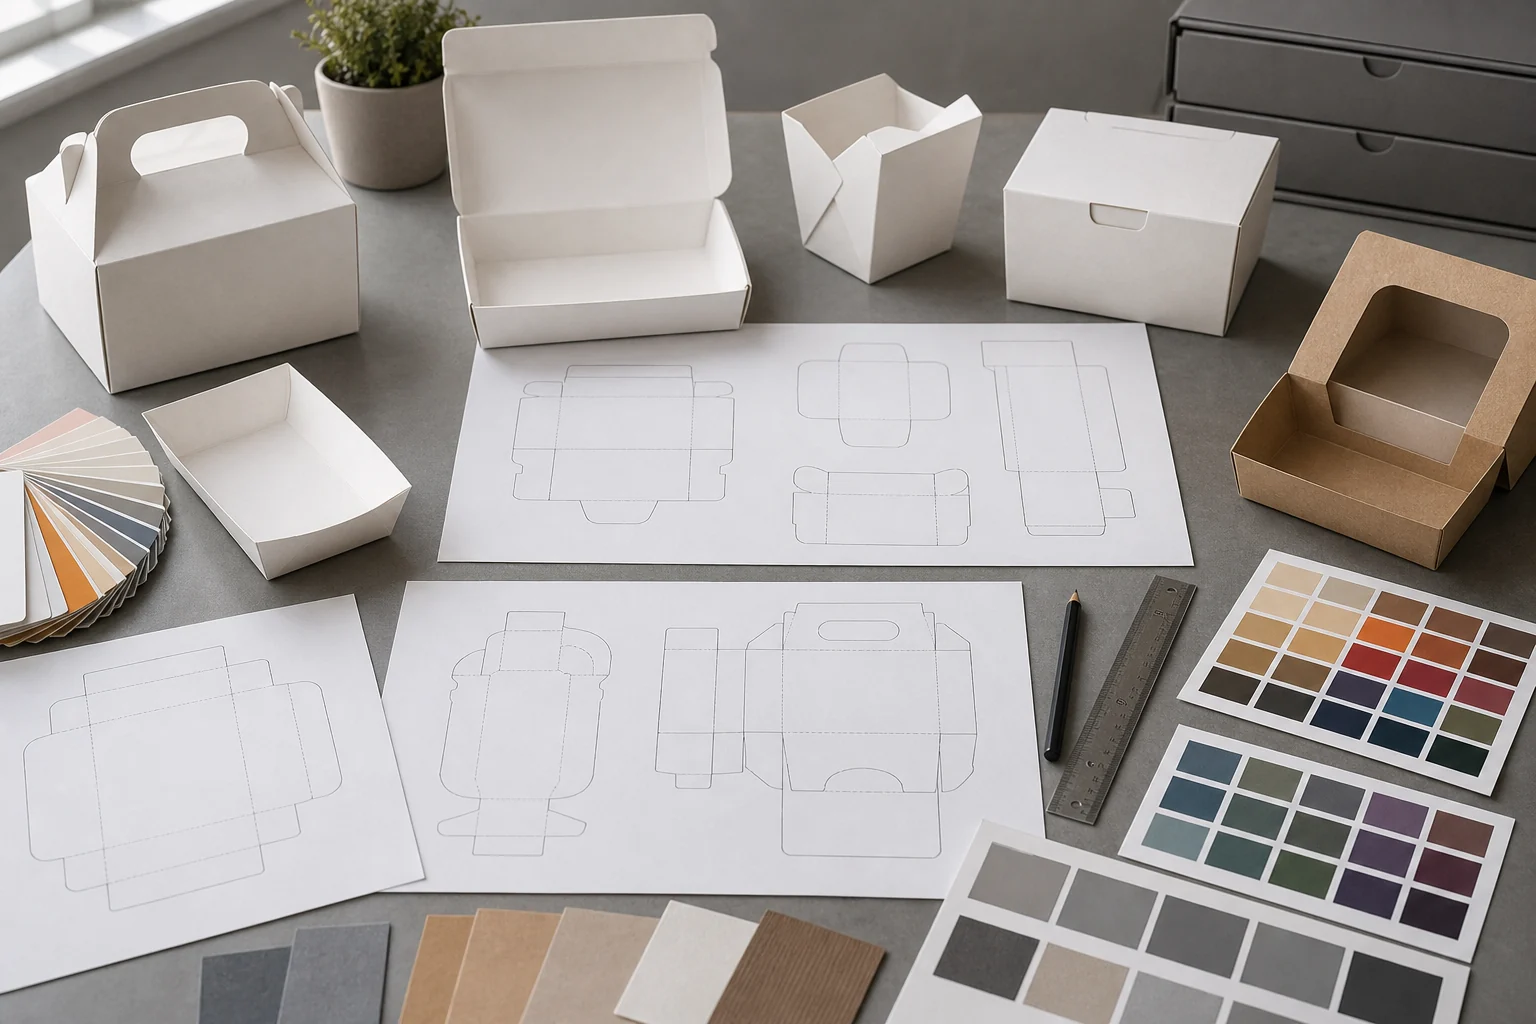
Prepress review can identify whether a file is technically ready, but it should not create unrecorded design decisions. If placement, text or colors change, issue a new version and repeat the relevant review. The final artwork record should connect directly to the approved proof and production release.
For a coordinated carryout program, paper lunch boxes can be reviewed with the same brand library while remaining a separate SKU and artwork file set.
The proof is the control point between an artwork file and a production run. Treat it as a documented decision, not a formality. The review path may involve a digital layout proof, a physical sample or another supplier-confirmed approach. The buyer should know which artifact is being approved and what it represents.
Start with the component and dieline reference. Check that the proof uses the intended artwork version, the correct box panels, all required copy and the agreed brand elements. Review logo placement, spelling, URLs, contact details, color references, safe-area clearance and any secondary component. Where a physical reference is used, compare it with the intended service workflow and record observations against that exact sample.
The approval record should include the project reference, supplier reference, box SKU, dieline revision, artwork version, proof version, reviewer, date and decision. If changes are required, list them against the version under review. Do not use an ambiguous “looks good” email as the only release control.
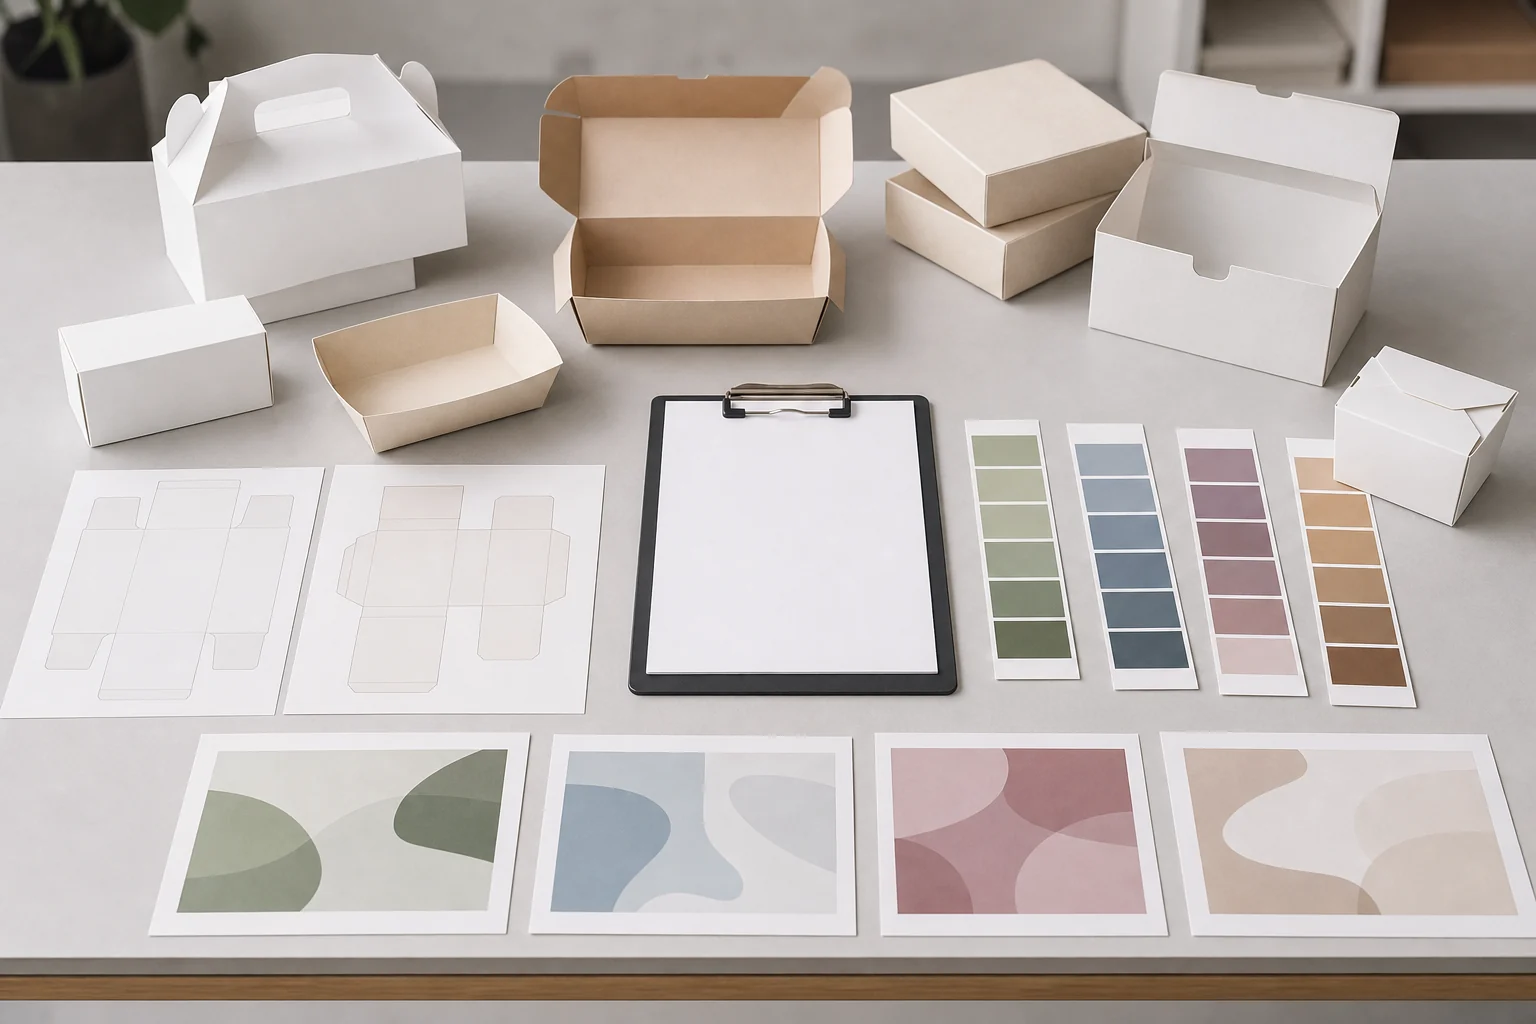
After a proof is approved, the release record should identify the final artwork and proof that authorize production. If a component, dieline or artwork changes after approval, create a new revision and return to the relevant proof step. This preserves traceability for reorders and discrepancies.
Before production, confirm that the order references the final approved artwork, component and release record. Provide the delivery contact, receiving window and carton-marking requirements. Establish a pack-out reference so the receiving team knows what outer cartons and inner packs should represent.
The buyer-side checklist can include:
Ask the supplier which inspection and reporting steps are included in their own process; record the answer rather than assuming a fixed inspection program. The buyer’s receiving check remains important because it compares delivered stock with the retained approved reference.
If the launch includes branded carryout components, coordinate the rollout calendar without collapsing their controls. Custom paper bags y custom napkins may share brand standards, but each needs its own product reference, artwork and receiving review.
Assign a named person to receive the first shipment. Give that person the purchase order, pack-out reference, approved artwork record and retained proof or sample. At delivery, compare carton labels and counts with the order, document visible transit damage, and use the team’s defined sampling approach to inspect stock from the shipment.
Compare selected boxes against the approved reference for the controlled elements: artwork version, logo placement, required copy, box construction and visible finish. Record the result. If a material discrepancy appears, segregate affected stock and contact the supplier before it enters service. A documented comparison makes the conversation about the approved reference rather than recollection.
For a multi-location launch, use the same short rollout sheet at each location: component identifier, approved artwork version, carton reference, storage instruction and escalation contact. A staged first release can help operations observe their own packing and storage workflow before a wider distribution. Keep earlier inventory identified separately so staff do not mix versions without an intentional cutover.
Service teams should understand the assembly and storage directions confirmed for the exact component and know where to report issues. Centralize those observations rather than resolving them informally at individual locations. This preserves evidence for supplier discussions and future reorder decisions.
Papacko can help foodservice buyers move from an operational brief to a controlled artwork and proof workflow. Start with representative carried items, current brand files and a documented delivery context. The team can then discuss available configuration options and the documentation needed for your specific project. Contact Papacko to begin the food-box and brand rollout review.
Include the intended service workflow, representative carried items, proposed component, artwork, decision owners, delivery details and receiving requirements. Confirm all final decisions for the exact SKU.
Not without confirmation. A dieline is linked to the supplier’s production tooling and can differ even where two boxes look similar.
Review exact-SKU options using the intended food application, conditions of use and supplier documentation. A general material name does not establish performance or compliance.
It gives the buyer a controlled reference for the approved component and can support the final artwork and release record.
Hold affected stock, document the difference against the retained reference and contact the supplier before service use.
Maintain one controlled brand library while keeping separate dielines, artwork versions, proofs and release records for each component.